")
Welcome to our Tech 4 Stampers blog hop. I am part of an amazing group of demonstrators from around the world who are part of a Tech Academy run by the amazing Louise Sims. Her Website School and Tech Academy helps Stampin Up Demonstrators navigate their way around the world of websites and social media. Now many of us have our websites up and running, a blog hop seemed the next logical step. This month the theme is NEW BEGINNINGS, which is open to so many interpretations…. New Job, Baby, Home, Life…. the list goes on……. I decided to take the theme literally and created a fun Z Fold New Beginning card. I hope you like it.

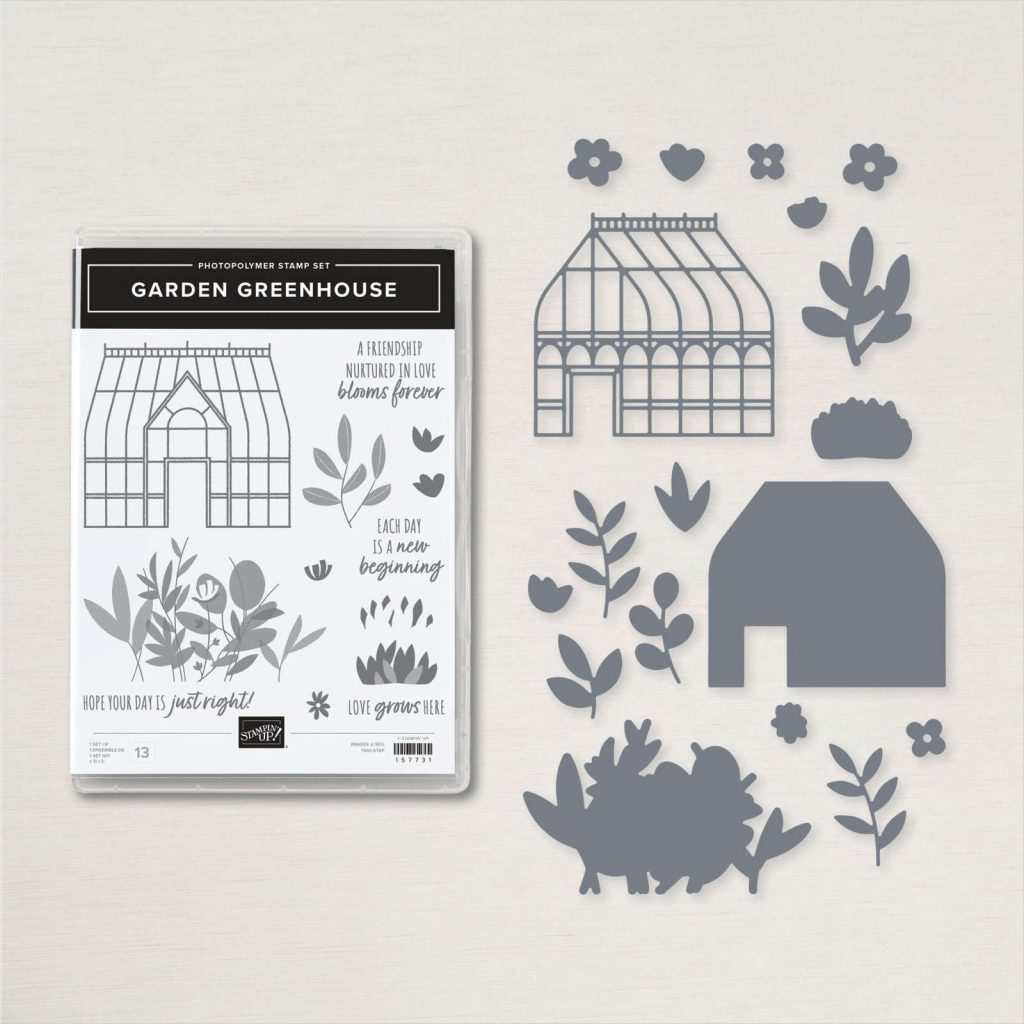
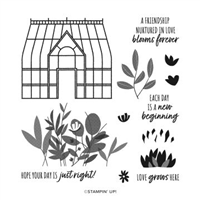
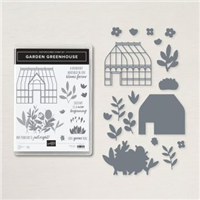
Garden Greenhouse
As soon as I saw this wonderful stamp set I knew it would make its way into my ‘collection’. It reminds me of the beautiful Glass House at RHS Wisley, a place I often love to visit.

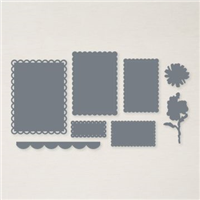
The Stamp set has a wonderful fresh contemporary feel and has a pretty coordinating dies set to complete the bundle. Just so elegant and useful for cards for all my gardening friends.
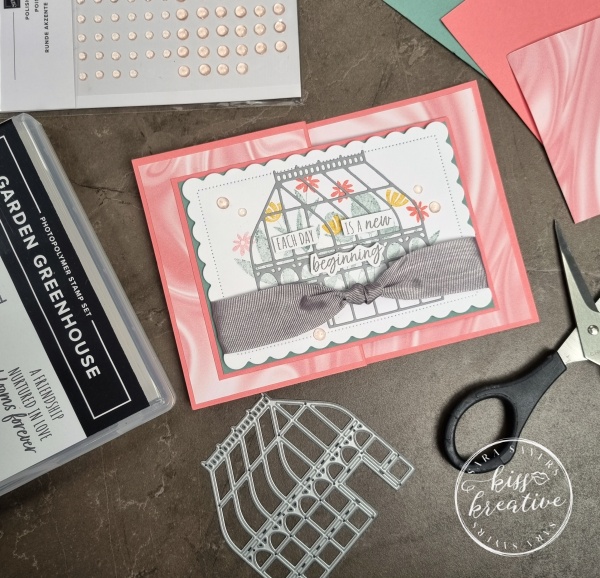
Z Fold New Beginning Card
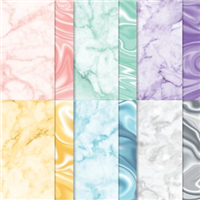
We have just three weeks left of Sale-a-bration and I have loved using the SIMPLY MARBLEOUS Designer series papers for my recent projects and this Z Fold card was no exception.
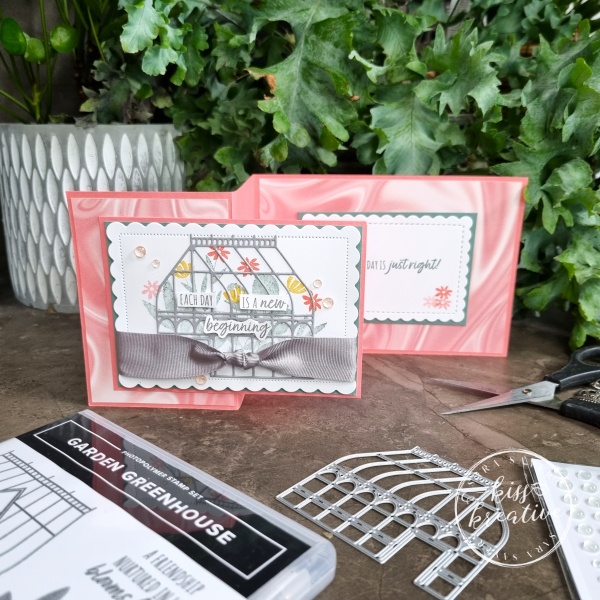
Z Fold cards are one of the simplest fun folds to master, but really do really make a card look special.
The Colour Palette is a fun mix of Flirty Flamingo, Soft Succulent, Smoky Slate and a hint of So Saffron.
How to make this Z Fold New Beginning Card
- Fold back the front piece of the base card t form the Z Fold and burnish with a bone folder.
- Add the Simply Marbleous DSP to the front and the inside of the card
- Take the piece of Basic White Card (Layer 4) and Die cut using the second largest Scalloped contour die
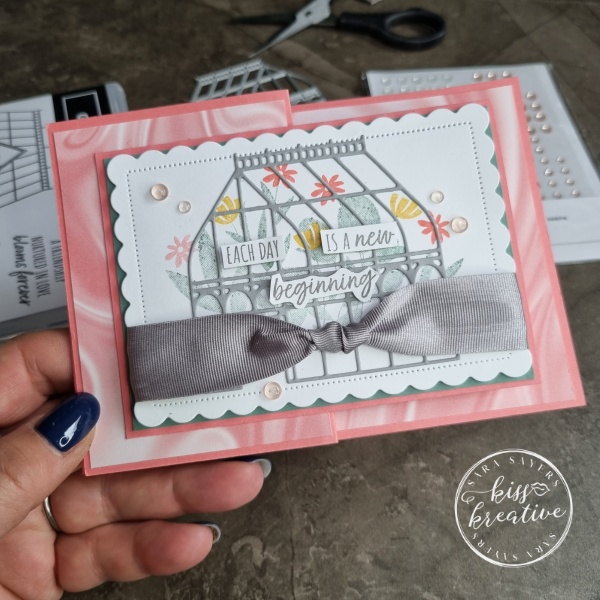
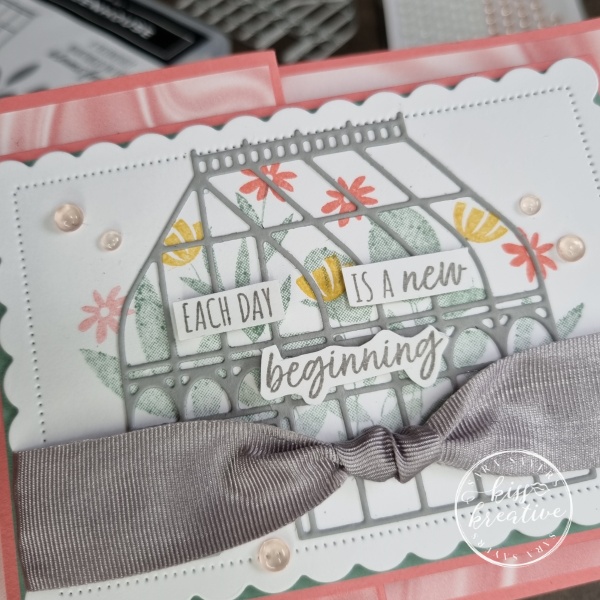
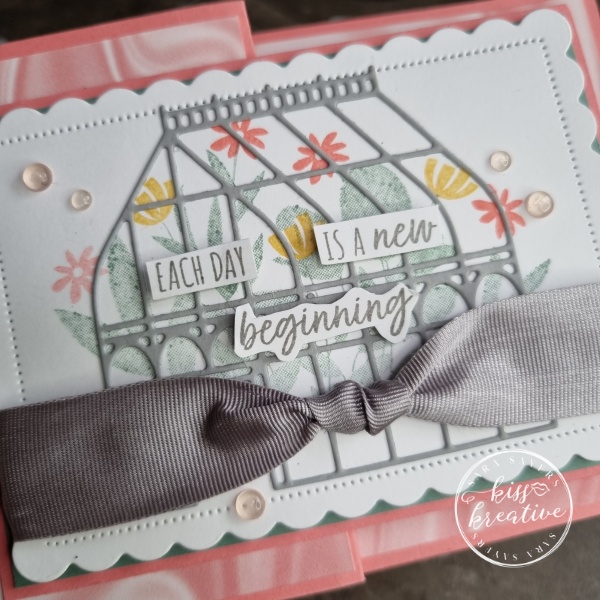
- Stamp the main image in Soft Succulent Ink and add flowers in So Saffron & Flirty Flamingo Ink
- Add the Smoky Slate die cut Greenhouse with glue
- Tie a knot in the middle of a piece of Smoky Slate Textured Ribbon and add to the card
- Stamp the sentiment in Basic Grey Ink onto the scrap of Basic White card.
- Trim and add to the card front with Mini Dimensionals.
- Glue Layer 2 and 3 together and add the topper with Stampin’ Dimensionals.
- Add tot he base card using glue NB: make sure to only add glue to the left hand side of the topper so the card will open!)
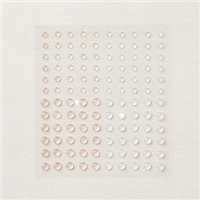
- Finish with some Polished Dots
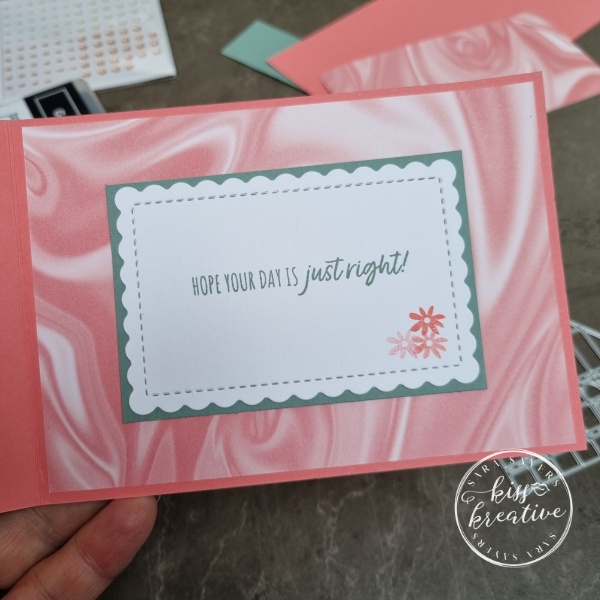
- Don’t forget to decorate the inside as per the photo below.
Z Fold New Beginning Card – Measurements
- Base card: Flirty Flamingo- measuring 29. 7 cm x 10.5 cm, scored at 14.9 cm
- First Layer: Simply Marbleous DSP – 10.0 cm x 7.0 cm
- Second Layer: Flirty Flamingo – 12.0 cm by 8.0 cm
- Third Layer: Soft Succulent – 11.5 cm by 7.5 cm
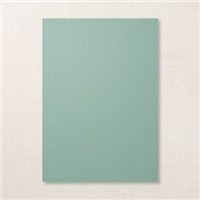
- Fourth Layer: Basic White – 12.0 cm by 8.0 cm
- Inside: Simply Marbleous DSP – 14.3 cm x 10.0 cm
- Inside Layer 1: Soft Succulent – x x x
- Inside Layer 2 Basic White – xxx
- Sentiment : Basic White – Scrap 5.0 cm by 2.0 cm
- Greenhouse : Smoky Slate – Scrap 8.0 cm by 8.0 cm

Voila!
I so enjoyed making this card and I would love to know what you think? Please do leave me a comment.
If you would like to know more about any of my projects please do get in contact and I would be happy to help you
So now it’s time to hop around the rest of the wonderful demonstrators blogs to see some more inspiration for using these wonderful patterned papers
See the rest of the design team below!
Tech 4 Stampers Blog Hop Team
Stamping Hugs
Sara
- Shop Stampin Up
- Request a catalogue
- Buy a starter Kit
- Find out about joining our group of Hugs Kisses Stampers
- Use the Host Code for a Free Gift – ZKGHBEDW


Love your card and the beautiful colour combination. Wisely is one of my favourite places and holds very special memories. X
So pretty Sara. I love the impact a z fold gives x
Wow that’s amazing!
Lovely card ! I have that stamp set but haven’t played with it yet. Thanks for the inspiration and for sharing!
This is beautiful. I love the way you used the ribbon. I have struggled with its width and bulk. Now I know just what to do. Thank you for sharing!