For this month’s hop we are highlighting the new In Colours and I have created a bold floral card.

We are a group of Demonstrators, led by Louise, seeking to learn, implement and improve our use of technology and online resources in our businesses.

A Bold Floral Card
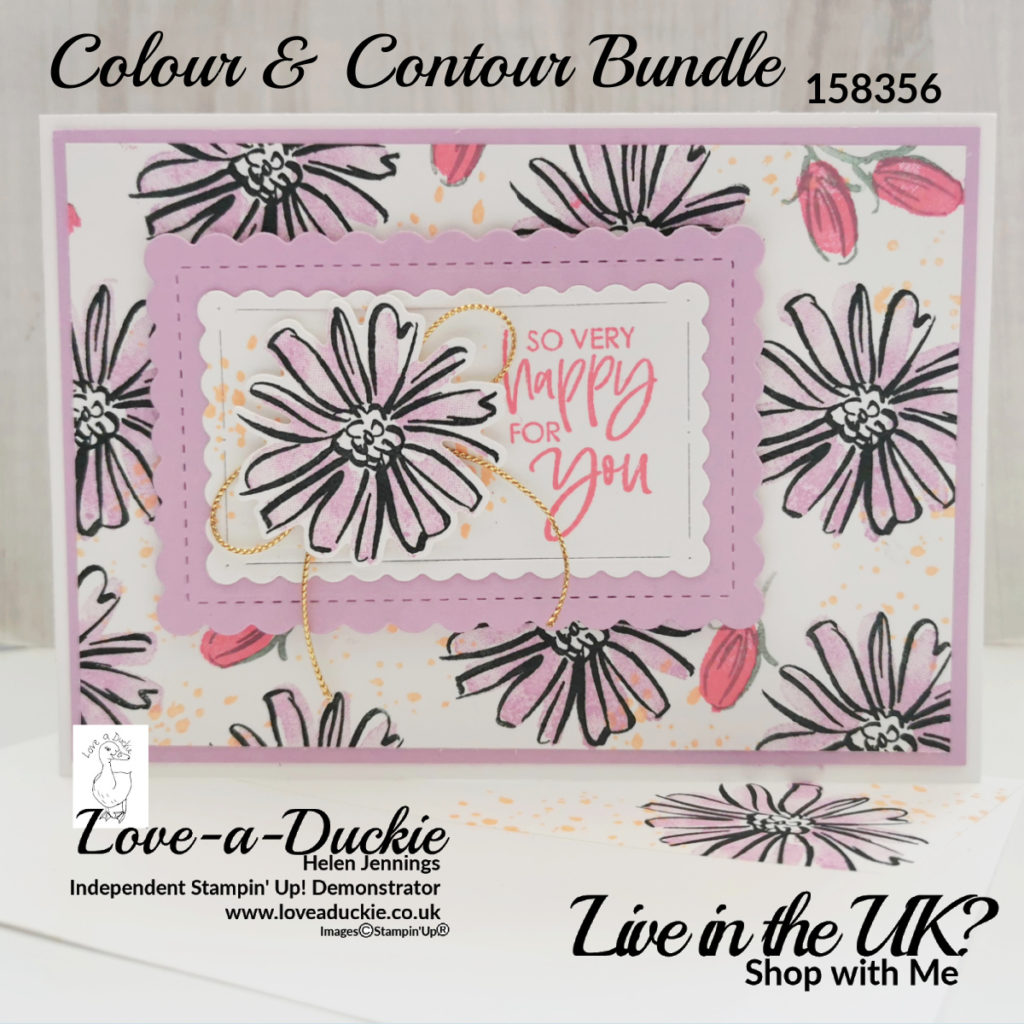
- Stamps: Color & Contour
- Tools: Scalloped Contours Dies, Mini Stampin’ Cut & Emboss Machine
- Paper: Fresh Freesia; Basic White; Thick Basic White
- Ink/Pens: Fresh Freesia, Polished Pink; Evening Evergreen; Soft Succulent; Pale Papaya.
- Embellishments: Simply Elegant Trim
| A4 Metric Cardstock | Imperial Letter Size Cardstock | |
| Thick Basic White Card Base | 10.5cm x 29.7cm Scored at 14.9cm on the long side. | 4 1/4″ x 11″ Scored at 5 1/2″ on the long side. |
| Fresh Freesia | 14.4cm x 10cm | 5 1/4″ x 4“ |
| Basic White | 13.9cm x 9.5cm | 5″ x 3 3/4″ |
| Fresh Freesia for label | 10cm x 6.5cm | 4″ x 2 3/4″ |
| Basic White for label | 8cm x 5cm | 3 1/4″ x 2″ |
Instructions
- Fold card base on score line. Stick Fresh Freesia mat to the card base.
- On the Basic White layer stamp the flower and the bud randomly all over. Use Evening Evergreen for the large flower outline and Fresh Freesia for the in fill stamp. Next use Soft Succulent for the bud outline and Polished Pink to fill in. Finally, using the “spotty” stamp, fill in between the flowers with Pale Papaya.
- Die cut the two scalloped labels. On the Basic White label stamp the greeting on the right hand side with polished Pink. On the left side stamp some Pale Papaya spots.
- Stamp another large flower on an oddment of Basic White in Early Evergreen and fill in with Fresh Freesia. Use the coordinated die to cut out.
- Stick the two labels together and add to the card front with dimensionals. Tie a bow with the gold thread and stick underneath the die cut flower with a glue dot. Stick the flower in place with dimensionals.
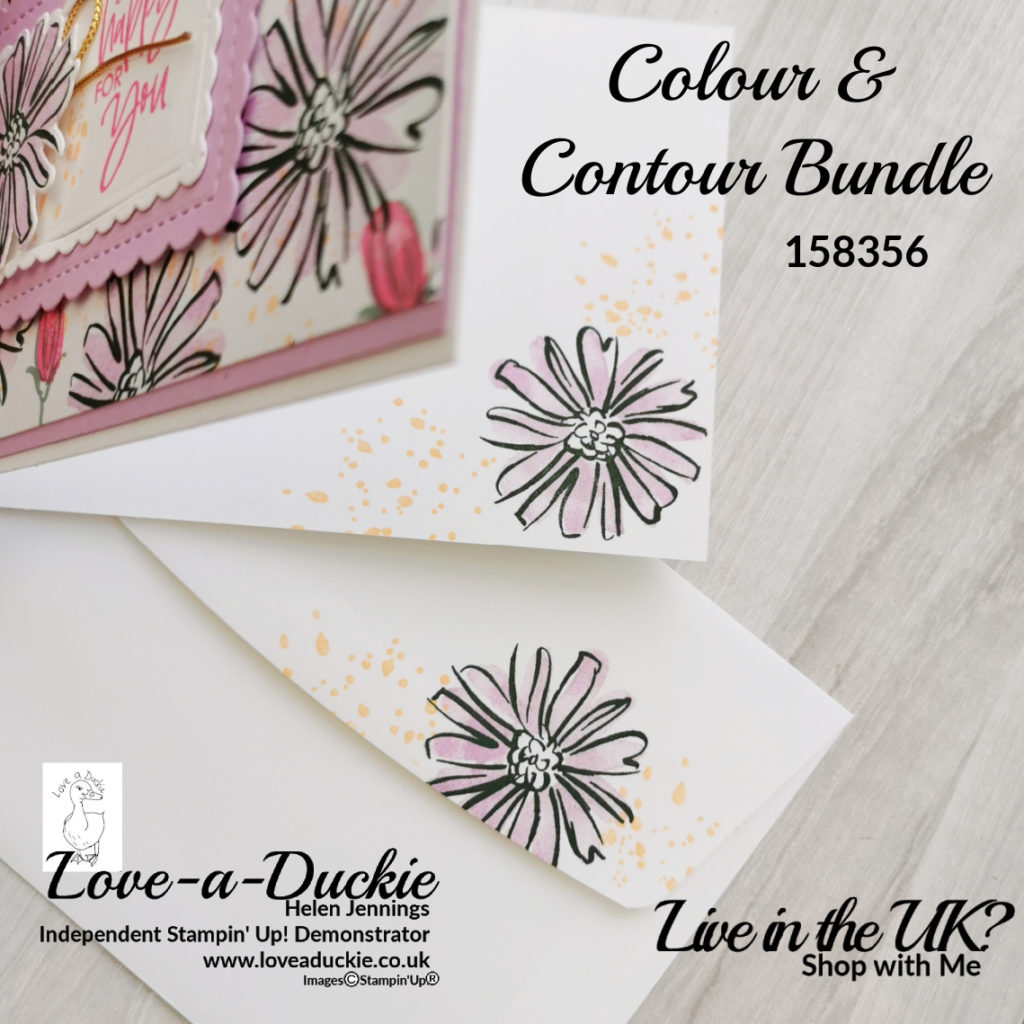
- Don’t forget to decorate the inside of your card and your envelope. I again used the large flower and the spots.
Let’s Hop
I hope you have enjoyed my project. Do leave a comment if you can, because it certainly makes my day. Then it is time to hop around all the other projects
How Can I Help?
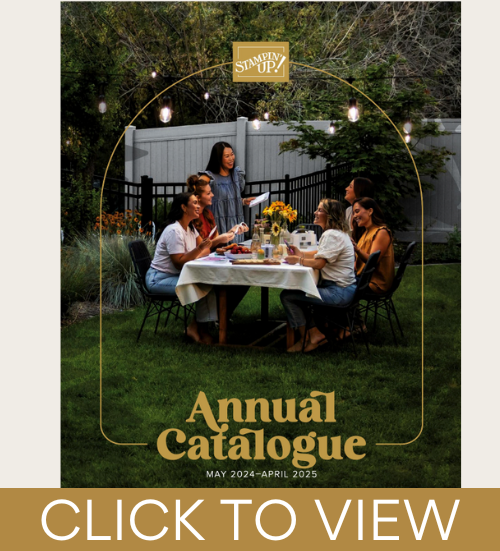
This card was one I created for part of a swap to celebrate the launch of the New Annual Catalogue. There is a video available, highlighting all the cards in the swap.
If you want find out more about my New Catalogue Clubs and Shares check out my earlier blog post. Make sure you don’t miss any of my blog posts by subscribing below so they are delivered direct to your In Box.
Stay safe and stay well
Helen xx
If you live in the UK, I would love you to choose me as your demonstrator.
- You can shop here or click on the images listed below.
- sign up for my newsletter to receive news and inspiration
- Find out more about joining my team to get a 20% discount on your craft supplies
- email me if I can be of any assistance.
- Make sure you use the current host code so I can thank you for your order.
- Anyone purchasing from me will receive a Tutorial Bundle as a Thank You.


")


Love all the different designs, thanks for sharing.
Lovely Card thank you for hopping with me.
Oooh, love this colours and contours set, I don’t have it yet though! Beautiful cards….
Lovely card Helen . This set is making its way up my list x
Lovely card, bold and beautiful x
Lovely card Helen – you have made me want to order this set! lol
Pretty Card Helen – love the gold bow behind the flower x