
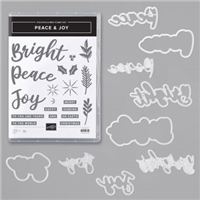
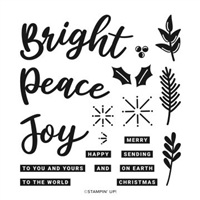
Welcome to our Royal Stampers blog hop, where we will be showcasing some of the fabulous products available to purchase from the new August to December Mini Catalogue. I chose to use the new Peace & Joy bundle for my projects.
So who are we? We are a group of Stampin’ Up demonstrators who just love to stamp where ever and when ever we can. We are also part of a group known as the Royal Stampers who are mainly based around the South of England.

I am so excited to be sharing a few projects using one of the new bundles available to order from the NEW August to December 2020 Mini Catalogue, If you don’t currently have a demonstrator and would like me to send you a copy then please contact me and I will pop one in the post to you right away.
Peace and Joy Cards
As a Stampin’ Up! demonstrator I have the opportunity to order a select number of the new products early, so I chose the new Peace & Joy Bundle on page 18 of the new catalogue for my projects today.
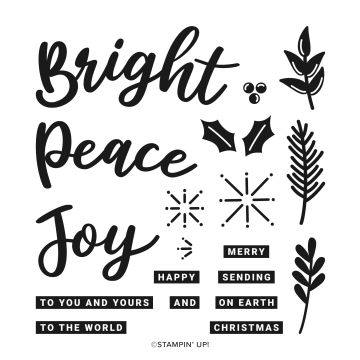
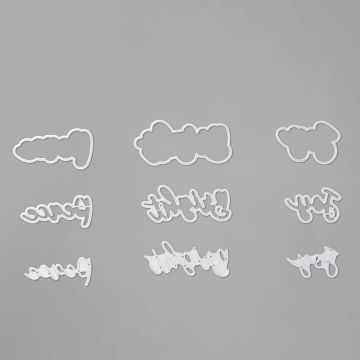
I just love this bundle. The words work so well together. The block print is so on trend and well what can I say about the coordinating, layering dies! I just adore them. Plus if you purchase them together as a bundle you can save 10% off the full price.

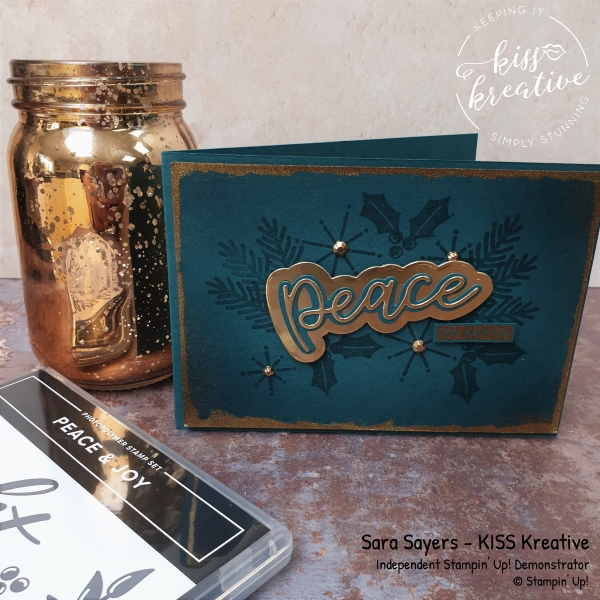
Peace and Joy – Traditional Joy to the world card
For my first card I went very simple and created a base using real red card stock
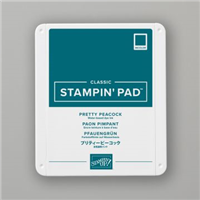
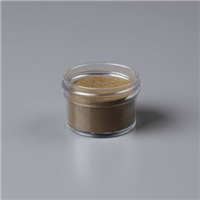
I embossed the second layer with the Greenery Mini Embossing folder and then sponged around the edges using Real Red Ink. Stamp the smaller sparkles using Real Red ink and I embossed two larger sparkles using Gold Embossing powder. Once dry attach to the first gold layer and stick to the base using dimensionals.

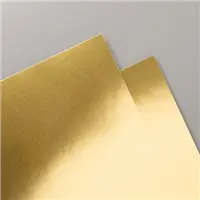
I die cut the main Joy word in Real Red using the smallest die. Then using the middle sized Joy die I cut the next layer in Gold foil and in foam adhesive sheet and once layered together, attached them to the base card. So simple to create a stunning layered focal point.
Measurements
- Base – Real Red – 29.7 cm by 10.5 cm scored at 14.9 cm and folded to form card
- First Layer – Gold Foil – 14.3 cm by 10.5 cm
- Second Layer – Real Red – 14.3 cm by 8.5 cm
- Third Layer – Gold Foil – 6.0 cm by 4.0 cm
- Fourth Layer – Real Red – 6.0 cm by 4.0 cm
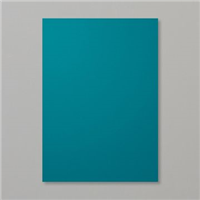
- Sentiment – Pretty Peacock – Scrap 1.0 cm by 5.0 cm
Peace and Joy – Non Traditional Peace on Earth card
On my second project I stepped the card up a little……
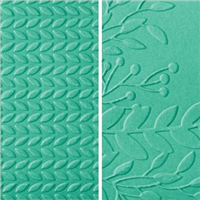
I just love using non traditional colours for my Christmas cards. So I took a piece of Pretty Peacock card stock and using Versamark stamped some of the cute leaves, holly and sparkles. I then repeated the sponging process around the edge of the card using Pretty Peacock to create a vignette and added some additional detail by embossing around the edges using gold embossing powder. Once I finished the layer I added it to the base card using dimensionals
This time I cut all three layers and added then to the base card using dimensionals.
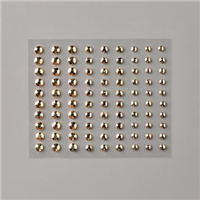
Repeating the same process as the first card I embossed the block ‘on earth’ in Gold powder and trimmed to create a small border. Finally I added some gilded gems to the middle of the sparkles.
Measurements
- Base – Pretty Peacock – 29.7 cm by 10.5 cm scored at 14.9 cm and folded to form card
- First Layer – Pretty Peacock – 14.3 cm by 10.5 cm
- Second Layers – Gold Foil – 9.0 cm by 5.0 cm
- Third Layer – Pretty Peacock – 8.0 cm by 4.0 cm
- Fourth Layer – Gold Foil – 7.0 cm by 4.0 cm
- Sentiment – Pretty Peacock – Scrap 1.0 cm by 4.0 cm
Peace and Joy – Merry and Bright contemporary card
For my last card I really pulled out all the stops and added in some other elements from some of the other fabulous products available on the new mini catalogue. I love how bright and vibrant this card looks and its so simple to make!
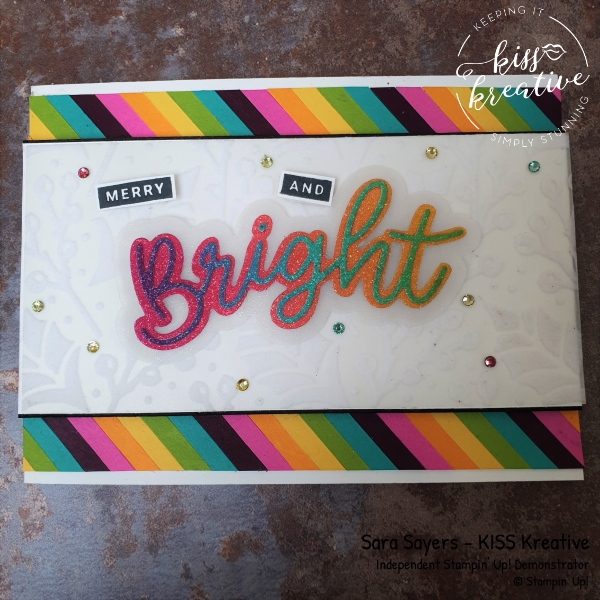
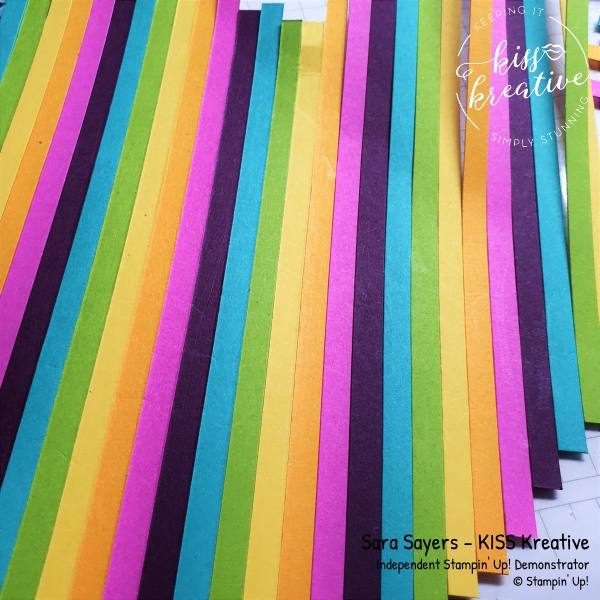
This time I changed the base card to Whisper White card. Using the first layer I added 0.5cm stripes of card stock in Daffodil delight, Mango Melody, Magenta Madness, Blackberry Bliss, Bermuda Bay, Granny Apple Green in a diagonal pattern using Tombow multi purpose glue. I just love how striking the colours look together and perfectly coordinate with the main Bright colours.
For the central panel, I added a piece of the beautiful new plush poinsettia speciality paper to a piece of Whisper white, which in turn is mounted onto a piece of Basic Black and mounted onto the base card using dimensionals. This paper is just so luxurious and will give all your Christmas cards a real wow!
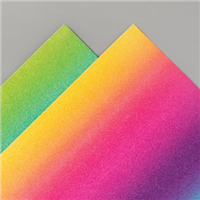
Once again I used all three of the die layers for the large bright word. The base is vellum and for the top two layers uses some of the rainbow Glimmer card from the Annual Catalogue. Doesn’t it look just gorgeous
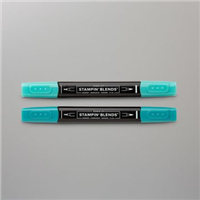
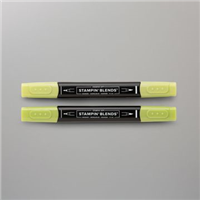
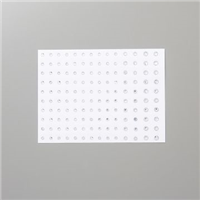
To finish I stamped the ‘Merry and’ Tuxedo Black Ink and fussy cut around it. This time I added some Basic Rhinestones coloured using coordinating blends.
Voila!

Want to know more?
If you would like to know more about any of these projects using the Peace and Joy Bundle, then why not watch my Online Card and a cuppa at 11.00am, 10th August, where I will be demonstrating how I made these cards.
I had great fun making these projects and I would love to know which one is your favourite? So please do leave me a comment below.
Remember me mentioning earlier about FREE bundles, well join my team you can pick up £130 worth of products from any of the current catalogues forjust £99. Woo hoo! That’s amazing value. Not only that, but you can pick up a whole host of other ongoing benefits from being part of my group of happy stampers – The Hugs and Kisses and from Stampin up itself. You can find out more here
Come and Join the party!
Want to see some more projects ?
So on to the rest of the blog roll. Do hop around and check out everyone’s projects.
Thanks for looking
Stamping Hugs
Sara


Lovey cards Sara and as usual you have blown us away with your amazing creativity. Love all of them. TFS, Barry x
Such beautiful words, Thanks Barry x