Hooray! Today is the day I finally get to share with you the exciting secret I’ve been busting to tell you… I was invited to be a guest designer of a project for the CropStop blog! If you happen to be coming from there… WELCOME!!
I was totally surprised and nervous as all get-out for my first ever privilege of being a guest designer! I hope you like my first project… I happen to think it’s one of my best cards. I’d be tickled pink if you would pop over to the CropStop blog and leave some love! Here’s a TINY sneaky peak to pique your interest:

I know you’re going to want to see the details close up… you can click the link HERE to get to the CropStop Blog. Meanwhile, I’ll sit here and twiddle my thumbs while you go check it out! When you’re done, please come on back here and I’ll share some extra details and tips with you, ok?!
Are you still here? I wish I knew how to embed music into my post, but since I dont, let me send you on your way by humming the theme from 2001: A Space Odyssey for dramatic effect while you click on the link HERE to go check out the project…. duuuum, DuuuuuM, DUUUUUUMMMM, TaDUUUMMM!….
* * * * * * * * * * * * * * * * * * * * *
So, what’d’ya think?! I hope you liked it as much as I did! Of course you know things always look better in real life… wish you could see it for real!
Here’s some of the extra details that I didn’t want to overwhelm the folks at the CropStop blog. I played around with different ways to color the flowers… The first ones I stamped with Versamark ink and then watercolored with Distress inks by putting the ink on some plastic and picking it up with a water brush.
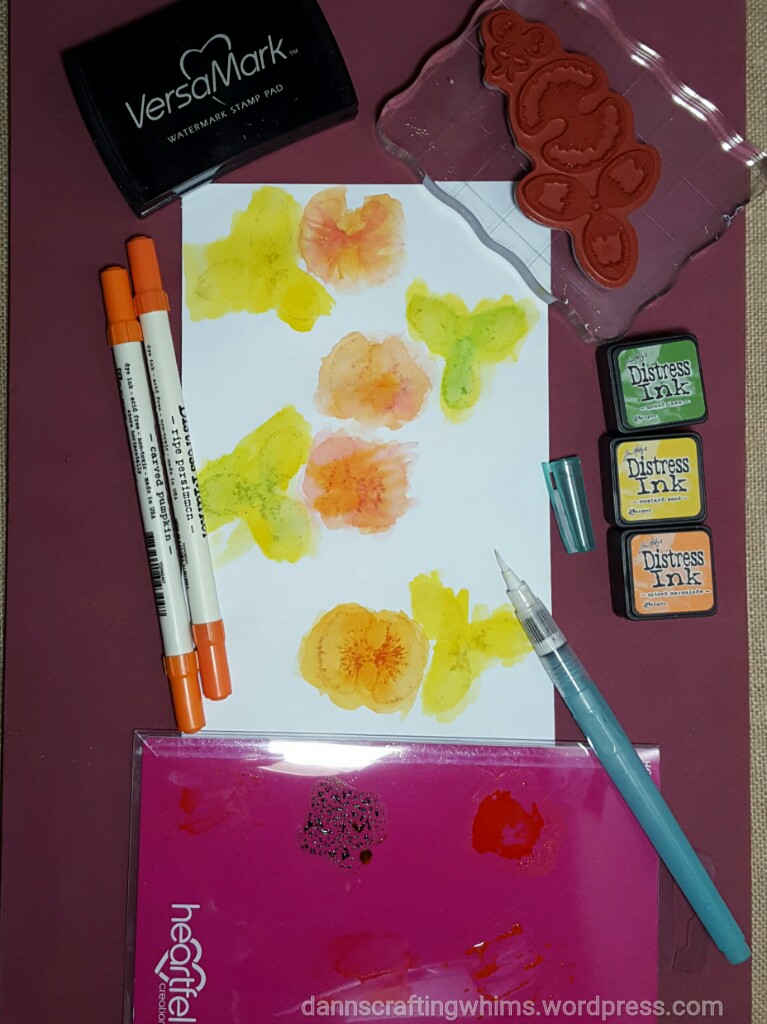
Note: For those of you who don’t have a MISTI or other stamping device, I highly recommend using the red 11×17 Rubber Stamping Mat under your paper to help get a nice evenly stamped image.
Also, if you don’t have a palette made specifically for watercoloring, you can use any hard plastic, like an old cd, a cd cover, or the packaging from your stamps, like I did.
You can see I wasn’t worried about staying in the lines as the die would cut away the excess. I did want to go OVER the lines to get a little extra dark coloring where the Versamark stamped image was.
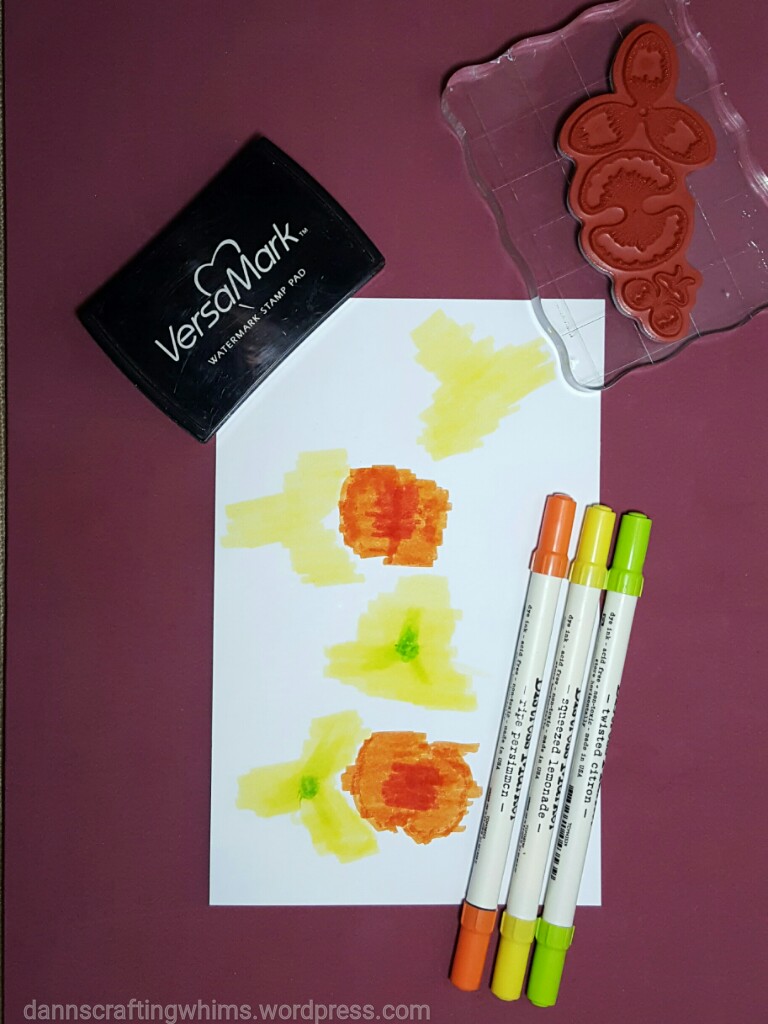
For the second set of flowers I colored directly with the markers.
And, for the final set of flowers, I stamped with a light gray ink instead of Versamark and colored directly with the markers again. I also colored the back sides of each flower.
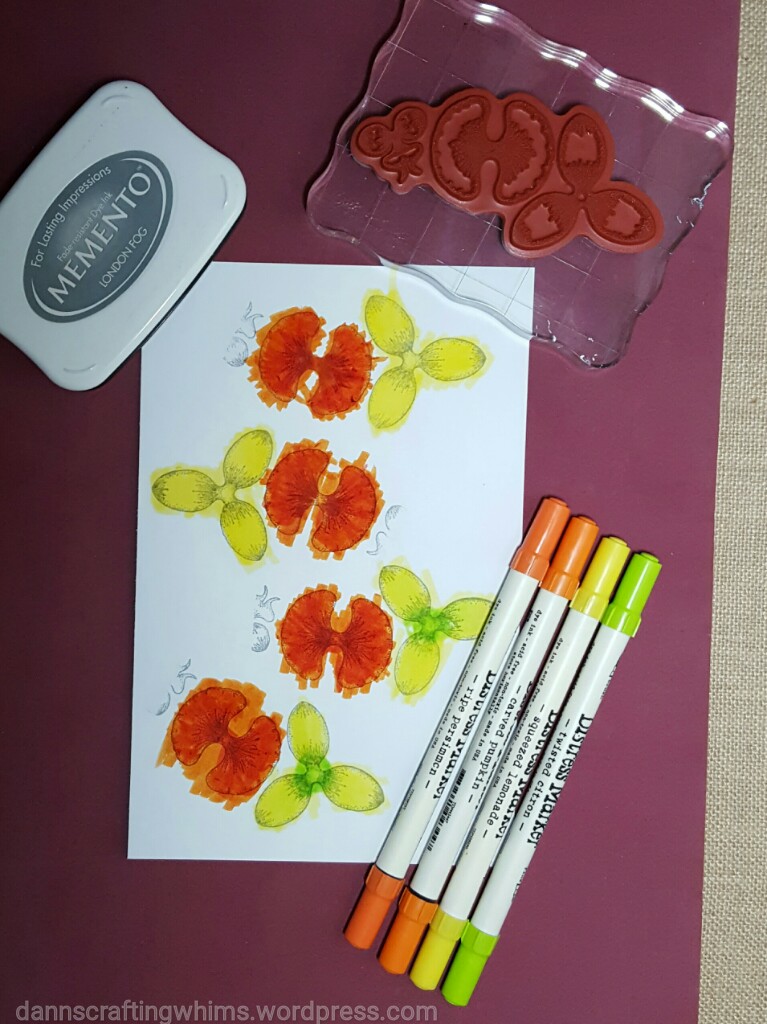
These are the Heartfelt Creations Botanical ORCHID stamps. Emma Lou of Heartfelt Creations has a nice video showing how to use these to make the DAFFODILS HERE.
Here are the finished flowers in the order I made them:

If you want a softer color, the watercolor works, but for brighter colors, coloring direct on the page works better. You will loose some color with the wetting required to shape the flowers. (Note, I also tried this with Color Bursts, but they washed out too much. FYI, you would have to start out with a really dark color to allow for the loss of color in the wetting and shaping process.)
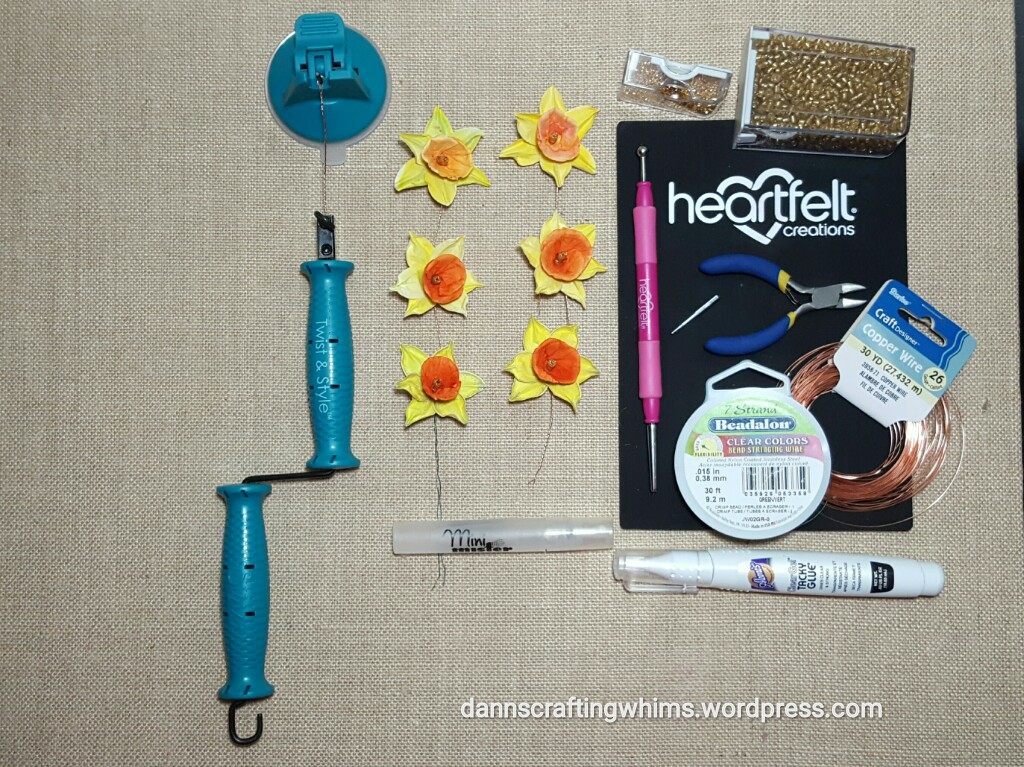
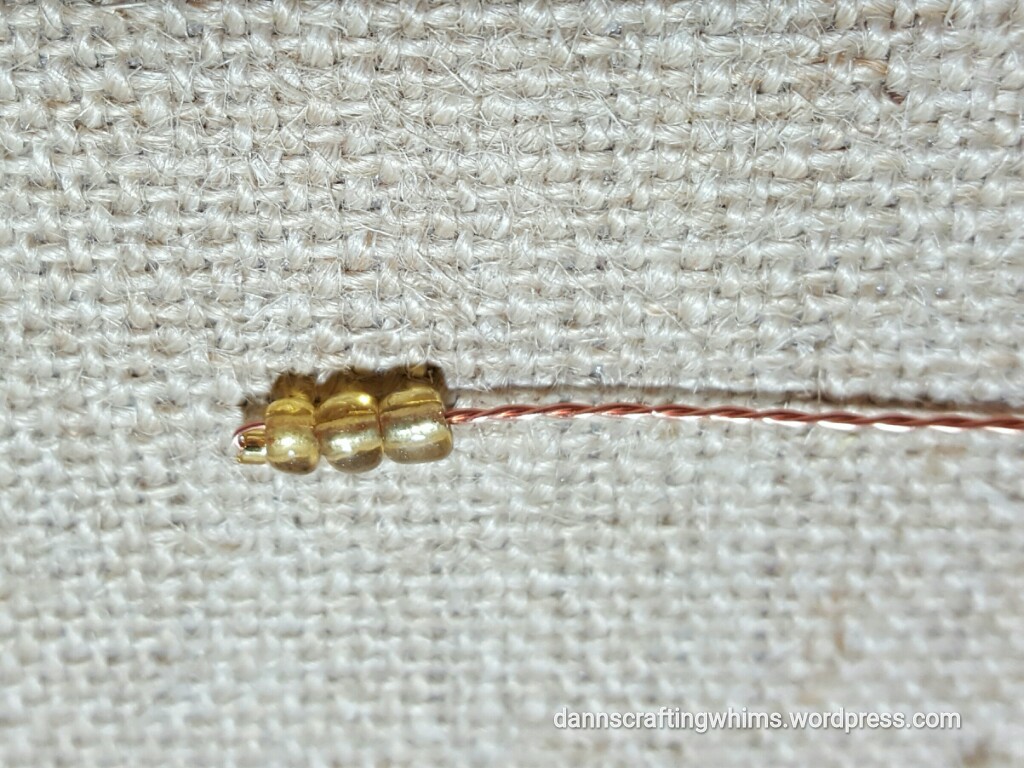
I used the Twist & Style Sizzix so kindly sent me a while back to make the stamens out of beads and wire stems. It makes quick work of wire twisting!!
Another thing I learned… The Beadalon 7 strand .015″ wire was a little too flimsy for the stems. The 26 gauge copper wire worked MUCH better. If I wanted them to stand up in a bouquet, I’d use an even heavier wire.
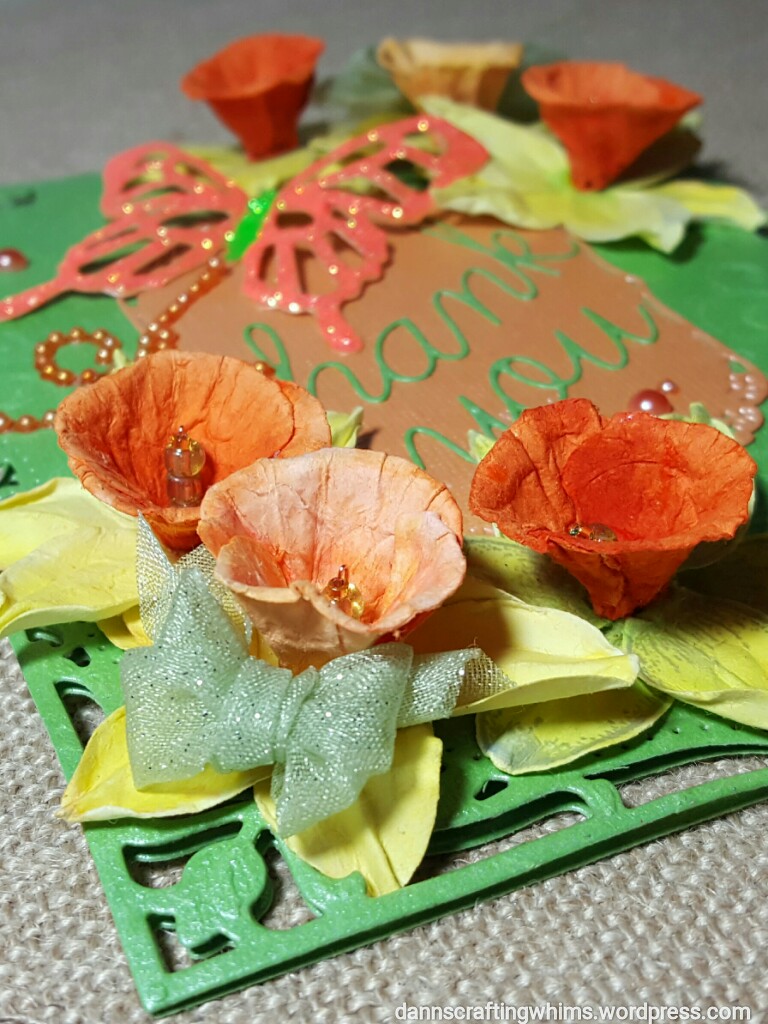
Here’s a close-up of the finished flowers. I took one of each different kind and put them in a bunch for variety and affixed them with Glubers. Oh, and FYI, the butterfly got its fabulous shine from Stickles (Firefly and Tropical Tangerine).
For the card base I wanted to have it embossed with the Couture Creations Serenity Collection: Chiaro 5×7 embossing folder that I won from CropStop back in January AND I wanted a nice cutout shape. This led to another learning experience…
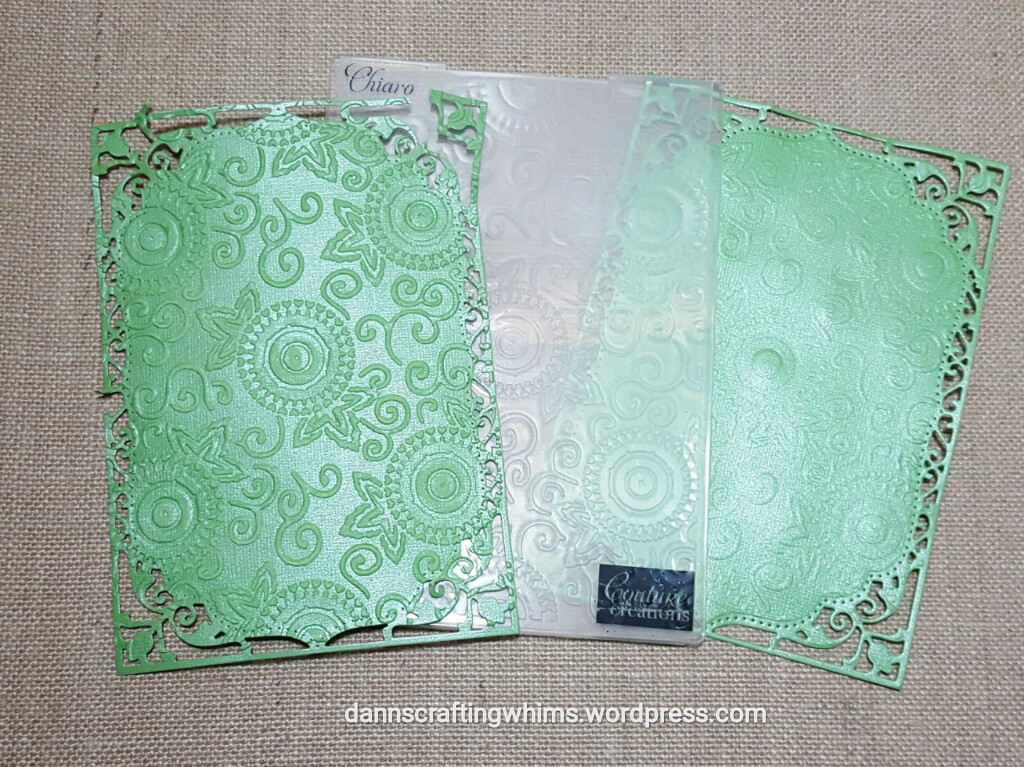
The die cut card was so delicate that the pass through the embossing machine ‘broke’ the paper apart in several places. It worked out much better to run the paper through the embossing folder first, THEN die cut it. In the process of die cutting it, it did flatten some of the embossing, leaving a much softer look and keeping the edges in tact.
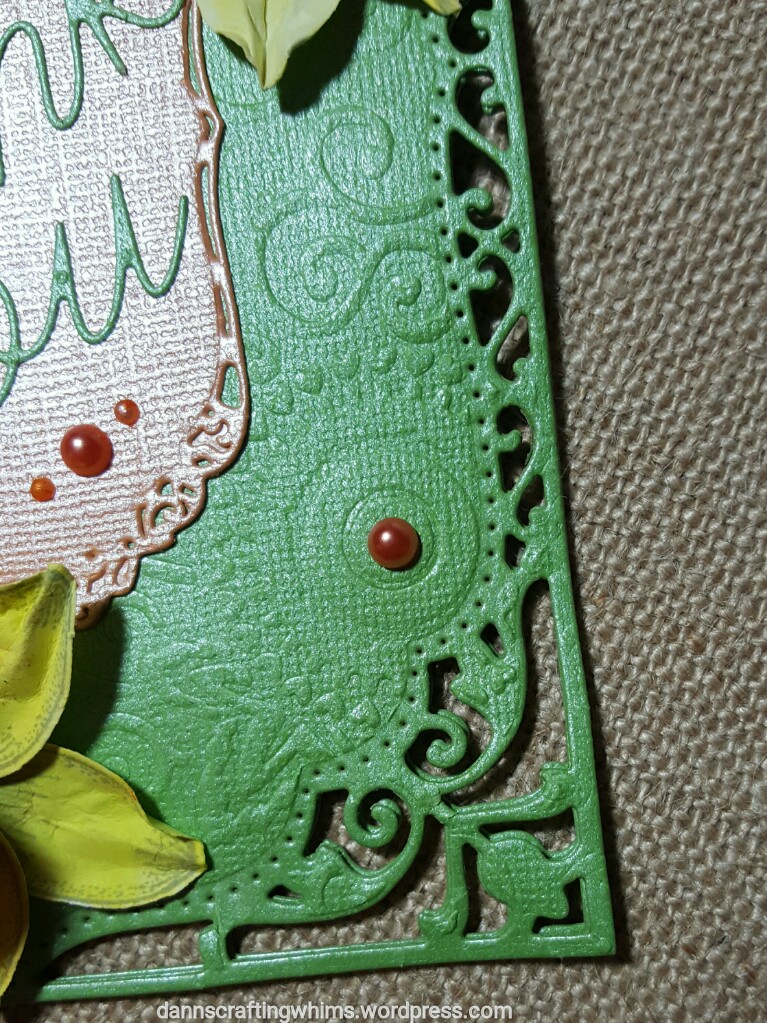
Tip: Can’t find faux adhesive pearls to match your project? Use a Copic Marker to color plain ones!

You will find the list of all the supplies used on the CropStop Blog. You can click HERE to go back and check it out again. Thank you, CropStop, for the privilege of guest designing for your blog!
Well, as Paul Harvey used to say, “And now you know the REST OF THE STORY!”
I am also playing along with the following challenges… click on any one of them for more information on how you can join the fun:
- Simon Says Stamp Monday Challenge: Handmade Flowers
- Simon Says Stamp Work It Wednesday February 2017: Green
You can also feel free to join in with the Cropstop March Challenge Linky Party #26: Anything Goes… It’s always fun to see the many lovely projects and you have the chance to win a nice prize or, perhaps, even be a guest designer!
Please stop back by Next Friday, March 24, for another guest designer post for the CropStop blog… this time a MUCH simpler pair of cards using some fun cut-and-fold dies… I’ll look forward to seeing you then!
This has been D.Ann reporting…. “Good day!” : )
.
p.s. any ads on this page are placed by WordPress and are not endorsed by me.

I love the daffodils you created, they’re beautiful! Great job! Thanks for joining us on the Simon Says Stamp Monday Challenge.
Cathie ♥
LikeLike
D.Ann…….this is just exquisite!!! Congratulations on your Guest Spot at CS!! You have done them proud, girlfriend!! 🙂 I adore your beautiful handmade daffodils. You are so amazing making those yourself!! Your lovely embossed and die cut card base is so beautiful. Wonderful way to showcase the products you received from them!!! Everything about your card is so well-planned and graciously accomplished. It is just a delight to look at!!
❤ J
jwoolbright at gmail dot com
HerPeacefulGarden.blogspot.com
LikeLike
Wow D.Ann, this is so beautiful and those flowers, with their shaped petals and twisted wire stems are incredible!! I’ve admired the Heartfelt Creations flower dies but am not sure that I would have the patience to go through all these steps…so I will leave that to more talented artists like you. That embossed and die cut card front takes this card up another level and looks like the trellis in a magic garden….love this!
LikeLike