Monday, May 27, 2024

Simon Says - Lots of Texture

Hi Everyone...welcome to another week on the Simon Says Stamp Monday Challenge Blog. Thank you for joining us for last week's challenge and we hope you can join us this week too because


and the theme for this week is...
LOTS OF TEXTURE
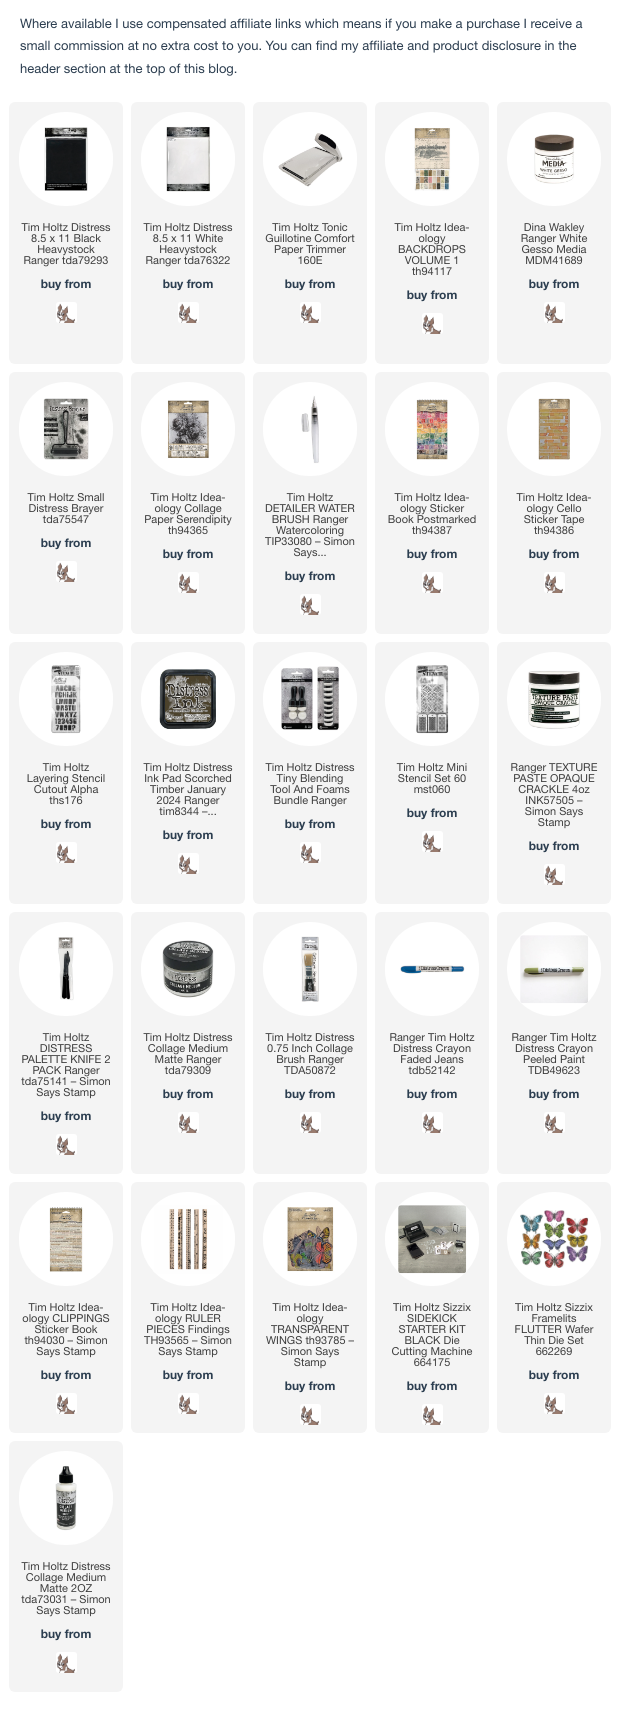
I created an Art Panel Collage in neutral tones decorated with paper from Tim Holtz/Idea-ology Backdrops Vol 1., Serendipity Collage Paper, Postmarked Sticker Book, Cello Sticker Tape, all favourites from the new Tim Holtz Idea-ology release and Distress Texture Opague Crackle with the Mini Layering Stencil from Set 60 to add texture.
I trimmed the Idea-ology Backdrops Vol 1. paper to 5.3/4 x 7.3/4", fixed to Distress White HeavyStock and applied a light layer of White Gesso using Tim Holtz/Ranger Distress Small Brayer.
I traced around the Serendipity Collage paper image with a Detailer Waterbrush and separated the paper using my fingers.
I fixed the collage paper to the panel using Distress Collage Medium, added the neutral stamps from the Idea-ology Postmarked Sticker Book. The stamps are self adhesive but I applied a coat of Distress Collage Medium over the top just to make sure they were well and truly stuck down.
I applied Scorched Timber Distress Oxide ink through the Tim Holtz/Stampers Anonymous CutOut Alpha Layering Stencil using a Tiny Blending Brush and added Idea-ology Cello Sticker Tape. I'm totally in love with these cool stickers and can guarantee they will be making an appearance on lots of future projects.
I applied Distress Texture Paste Opaque Crackle through the Tim Holtz/Stampers Anonymous Deco Floral Mini Layering Stencil from Set 60 and set aside to dry and the magic crackle to appear.
I applied a coat of Distdress Collage Medium over the panel, scribbled Faded Jeans and Peeled Paint Distress Crayons over the crackled areas and blended with a damp finger. I fixed the panel to Distress Black HeavyStock trimmed to 6" x 8" and fixed to Sizzix Mat Board trimmed to fit an 8" x 10" photo frame.
I added Tim Holtz/Idea-ology Clippings Stickers and Ruler Pieces Findings
I die-cut butterfly bodies from Distress Black HeavyStock using Tim Holtz/Sizzix Flutter Framelits and fixed to butterflies from Tim Holtz/Idea-ology Transparent Wings pack.
To finish I fixed the butterflies to the panel with Distress Collage Medium applied to the body section.


You can find all the products I used over at Simon Says Stamp, just click on the links below


Why don't you pop over to the Monday Challenge Blog and check out the amazing creations from my very talented Design Team mates and as always you have until Monday 8am Ohio time...1pm UK time...2pm CET to join in with the chance to win a $25 voucher to spend online at Simon Says Stamp


You can also follow Simon Says Stamp on Instagram
and if you use Instagram...
please add #sssmchallenge to your entry uploads so we can see them on there too

I look forward to seeing what you create this week...
Have Fun and Happy Crafting
Hugs Kath xxx

Friday, May 24, 2024

Simon Says - Mix and Match card

Hello my friends, it's me again, popping up like the proverbial bad penny to share a bit of a mix and match card using the Birthday Wishes wafer die from Simon Says Stamp Sweet Birthday June Card Kit, Craft Consortium Ombre paper from the May Card Kit, the Organic Leaves Cling Stamp from the Celebrate release and Daisy Heads die from the Just A Note release.

I stamped the Organic Leaves Cling Stamp on to a 4" x 5.1/4" panel of Craft Consortium Ombre patterned paper, inked with Simon Says White Pigment ink and dried.
I die-cut Simon Says Daisy Heads from Distress Watercolor card and coloured the flowers and centres with Abandoned Coral Distress Oxide and Scorched Timber Distress ink using Simon Says Round Detail Blending Brushes.
I die-cut Simon Says Birthday Wishes twice from Distress Watercolor card, layered to create dimension and fixed to the panel along with the Daisy Heads flowers using Distress Collage Medium. I wound twine around the top of the panel, tied in a bow and added Trinity Stamps Bubble Blow Out embellishments.
To finish, I added foam tape to the back of the panel and fixed to a top folding A2 white card blank.

Have a lovely weekend, whatever you have planned. I'll be joining Tim and Mario on Tim's YouTube Channel for the Live launch of the new Tim Holtz/Tonic Studios Recoil Scissors which are absolutely amazing - a cut above the rest, forgive the pun. If you intend joining me, I'll see you tomorrow - Saturday 9am PT 12noon ET or 5pm UK.
Hugs Kath xxx


Simon Says - Birthday Wishes

Hello my friends, I'm sharing another card today using the Birthday Wishes dies and PinkFresh Studio patterned paper from Simon Says Stamp Sweet Birthday June Card Kit along with the Windswept Leaves die from a previous release.

I trimmed the PinkFresh Studio Picture Perfect patterned paper to 4" x 5,1.4", die-cut using the shadow die from Simon Says Birthday Wishes and fixed to an A2 white card blank.
I die-cut the word from the left over negative of patterned paper.
I die-cut the shadow section again from Simon Says Black Cardstock and fixed into the negative space using Distress Collage Medium. I die-cut Birthday Wishes again twice from white cardstock, layered to create dimension and fixed inside the aperture.
Because the patterned paper and sentiment die-cut are quite busy, I decided to keep the decoration simple and die-cut the Simon Says Windswept Leaves dies from white and black cardstock and layered slightly offset to create a shadow effect.
To finish I added Simon Says Pawsitively Dazzling Gems Warm Tones.


I'll be back later today to share yet another card that I've ticked off the long list of things to do.
Hugs Kath xxx

Thursday, May 23, 2024

Simon Says - June Card Kit

Hello my friends, we're heading towards the end of another week and I'm on a mission to share all the cards I've made with products from Simon Says Stamp Sweet Birthday June Card Kit along with other products from previous card kits and releases, such as the Daisy Heads die which, due to my laziness in filing products away, is sitting in an ever growing pile in the cubbyhole.

I trimmed the Craft Consortium Ombre patterned paper from the Celestial Wishes May Card Kit to 4" x 5.1/4", embossed with Simon Says Winslow Embossing Folder, sanded the detail with a mini round blending tool and Distress Sanding Disk and fixed to an A2 white card blank. I die-cut the Simon Says Daisy Heads dies from Distress Watercolor card, coloured the centres with Worn Lipstick, Spiced Marmalade and Scorched Timber Distress Oxide inks using Simon Says Detail Round Blending Brushes and fixed to the card with Distress Collage Medium.
To finish I inked the sentiments from Simon Says Sweet Birthday stamp set with Intense Black ink, trimmed and fixed to the card with foam squares to create dimension.
Did you know that Simon Says Stamp have a great deal on all brand embossing folders this week
I'm working my way through the product pile and will be back tomorrow to share another card or maybe 2. In the meantime, have fun with whatever you're making.
Hugs Kath xxx

Simon Says - Summer Birthday Wishes

Hello my friends, I'm back to share another card made with products from Simon Says Sweet Birthday June Card Kit. The kit is still available to purchase HERE at time of writing or if you so wish, you can also purchase individual items from the kit.

I created a Summer Birthday card using the Winslow Medallions Embossing Folder, PinkFresh Studio Picture Perfect patterned paper, Birthday Wishes dies, all included in the kit and Simon Says Windswept Leaves from a previous release.
I trimmed the Picture Perfect patterned paper to 4" x 5.1/4", embossed using the Simon Says Winslow Medallions Embossing Folder and attached to an A2 white card blank.
I sanded the embossed detail to reveal the white core using Tim Holtz Distress Sanding Discs with a mini round blending tool.
I die-cut Simon Says Birthday Wishes 3 times from Simon Says Ultra White cardstock and the shadow die from Vellum.
I die-cut Simon Says Windswept Leaves from the same white cardstock and arranged on the card to get an idea of placement.
I fixed two of the die-cut words on the front of the vellum and one on the back which will raise the vellum slightly off the panel.
I added dots of Distress Collage Medium to the letters on the back of the vellum, pressed into place and tucked the Windswept Leaves die-cuts, behind the vellum,  popped up on foam squares to create dimension.
To finish I added Simon Says Rainbow Splash Cool Tones Dazzling Gems.


I'll be back tomorrow to share another version of this card using some of the same products,  in the meantime, have fun with whatever you are creating.
Hugs Kath xxx