
Hi Everyone! Here is a card I created for the Simon Says Stamp Wednesday Card Challenge (Wrap It Up) with Distress Ink stained seam tape. This was my first attempt at coloring ribbon, and it was fun. My fingers looked a little smurf-ish for a day or so, but it was worth it. I think I’ll wear disposable gloves the next time! LOL
There’s so much to this card that I think it will be easier to list the steps.
1. I began by wetting the Tim Holtz Distress Watercolor Cardstock, and sprayed with Distress Ink Spray Stain in Chipped Sapphire and Broken China. Let it soak in a short time, and then patted off excess with paper towel. Splattered with water from paint brush, and let soak into cardstock before dabbing with paper towels. Finally, I sprayed DSS Brushed Pewter onto a block and used a paint brush to splatter onto the cardstock.
2. Cut the My Favorite Things Stitched tag from watercolor cardstock, and a second from Crafter’s Companion Shimmering Cardstock in Silver Starlight. Then I used the Simon Says Stamp Snowflake block wafer die to cut the window in the tag. I used the MFT tags to cut a foam frame for the shaker card and glued this to the background. The last step was to cut acetate to fit the tag frame.
3. While the glue dried on the foam and tag, I used the Simon Says Stamp Cling Rubber Stamp Falling Snow on CCSC in Pearl White and VersaMark. I mixed tinsel and snow white embossing powders to get a shimmery snow effect on the card base. The Technique Tuesday Christmas Cheer sentiment is stamped in Ranger silver embossing powder. I like the way it looks like it’s shadowed or double-stamped. Do you see it?

4. My sister (Melissa Made) gave me a bag of seam tape a while back, and I really didn’t know if I would ever use it. But I found it at the back of the top cabinet, and was blessed to find a roll of white. I sprayed it generously with DSS chipped sapphire and broken china, and rolled it around with my fingers until it was completely soaked. (And so was I!) I let this dry overnight.
5. I used a super-strong tape to adhere the acetate to the back of the tag. Then I taped the die cut back into the tag on the shaker card window. I learned an awesome trick from Kelly at Lawn Fawn while watching her video for snowglobe shaker cards. She takes her anti-static powder tool and runs it around the inside of the foam and background before adding sequins. This gets rid of any sticky residue before adding the bling. Genius! Did you guys know this already?

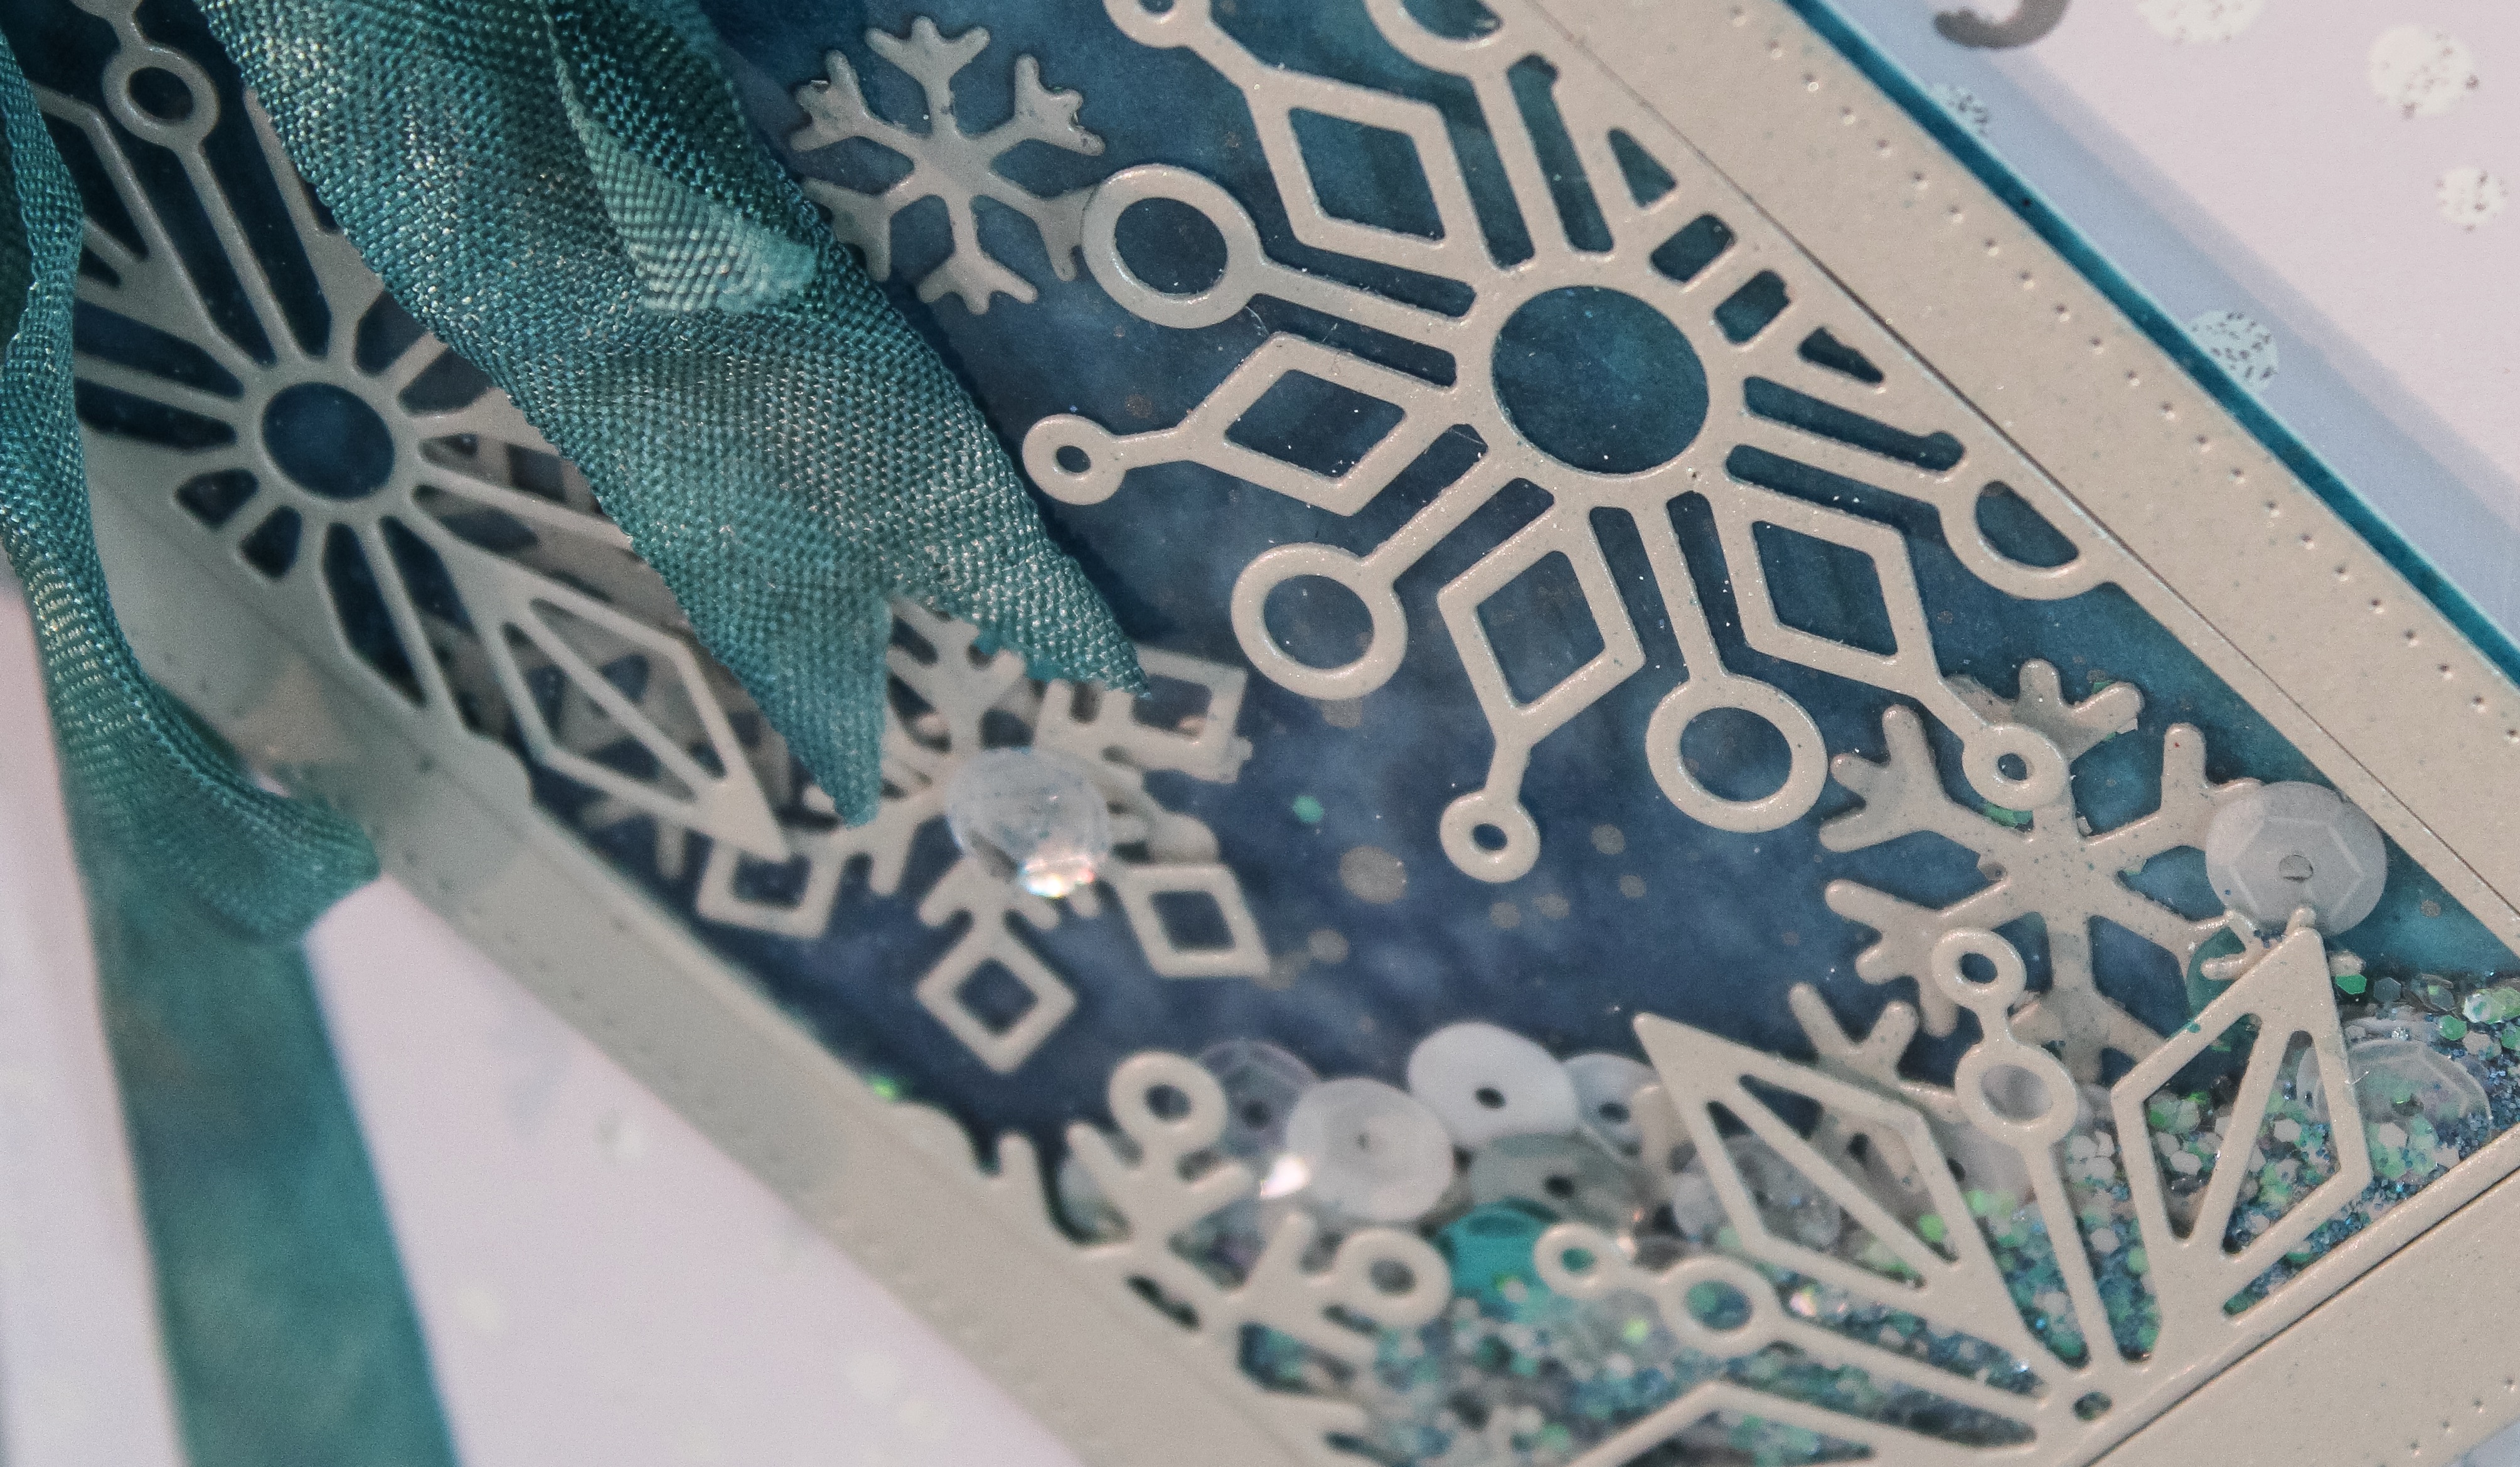
6. I cut a hole in the top of the tag, pulled the ribbon through, and tied a double bow. For extra interest on the background, I cut some snowflakes from CCSC Pearl White using Lawn Fawn’s Mini Snowflakes Lawn Cuts dies, and adhered a couple. Then I used various sequins (including Pretty Pink Posh) and some glitter, and glued the top and bottom of the tag together. When the glue completely dried, I taped the tag onto the card base.

I think this card is pretty, and I LOVE that it also is an ornament that can be removed and placed on the Christmas tree. Bonus! The only thing I would like to explore is how to alter the color of the seam tape. The color is a shade different than the spray stained background. Any ideas or recommendations?
Thanks again for stopping by! I can’t wait to check out all of the other cards at Simon Says Stamp Blog.
Erin

wow, this is gorgeous, I adore the tag and ribbon! so glad you played along with us at Simon Says Stamp Wednesday Challenge!
stop by my blog and comment for a chance at winning my giveaway for world kindness day
http://paperieblooms.blogspot.com/2015/10/the-best-day-ever.html
sparkle & shine *~*
LikeLike