
Don’t you just hate when a great idea suddenly pops into your head just as you’re falling asleep? This has been happening to me a lot lately. I’m all warm and cozy, drifting off to La La Land and thinking ahead to the next day’s tasks, and BAM! A tiny little detail triggers a weird chain reaction to stamping inspiration, but it’s too late to do anything about it. Most of the time these genius moments are forgotten the next morning, and I find myself back to the drawing board. Somehow yesterday morning was a perfect exception!
Since this is an Easter card, I thought it would also be a great submission for The Paper Players Challenge #234: Laurie’s Theme Challenge “Spring”

Unfortunately, I don’t remember exactly what little detail triggered the inspiration, but somehow I still managed to remember what I wanted to accomplish with this card. There are three new (to me) techniques utilized in this design. So let’s get started, shall we? 
 Instructions:
- Start with an 11″ x 4-1/4″ piece of Whisper White card stock. Score and fold at 5-1/2″ to create an A2 card base.
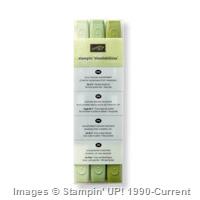
- Alternating between a Pink Pirouette and Wild Wasabi Blendabilities marker, draw free-hand horizontal lines across the card front. I held my markers at a significant angle to create wider stripes.
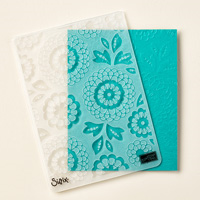
- Cut a 4″ x 5-1/4″ piece of Vellum card stock and emboss with the Lovely Lace Textured Impressions Embossing Folder. Center and adhere to the card front with a very thin layer of Crystal Effects (or use your sewing machine!)
- Stamp the Indescribable Gift flower image with Smoky Slate ink onto Whisper White card stock. Color with the Pink Pirouette and Wild Wasabi Blendabilities markers, adding a touch of Crumb Cake for the branches. Center and die cut using the 3-3/16″ circle die from the Circle Framelits Collection.
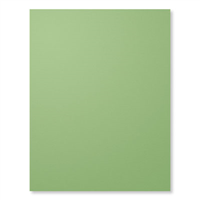
- Die cut a 3-3/4″ starburst out of Wild Wasabi card stock. Center the Flower image over the starburst and adhere with Snail.
- Determine overall placement of the starburst framed image and trim off a portion of the right side, in order to line up with the straight card edge.
- Cut a length of White baker’s twine and run the Wild Wasabi Blendabilities marker over the top. Place the starburst/flower panel face down on your work surface and glue the twine in loops with Crystal Effects. Once dry, adhere the entire panel to the card front with Stampin’ Dimensionals, lining up the straight edge with the card front edge.
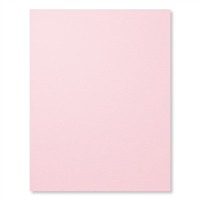
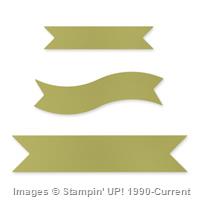
- Stamp the “Happy Easter” sentiment in Wild Wasabi ink onto a scrap of Pink Pirouette card stock. Die cut with the largest banner from the Bitty Banners Framelit set. Determine placement and adhere to the card front (I used a Stampin’ Dimensional on one end and a dot of Crystal Effects on the other, due to the height variation).
See ya next time … ink, ink, smudge, smudge! –Jessica Kerr, Independent Stampin’ Up! Demonstrator Place your order today! Send me an email: stampdaydesigns at gmail dot com


Built for Free Using: My Stampin Blog

Beautiful, Jessica! I love the vellum overlay. Thanks for sharing at The Paper Players this week!
LikeLike
Thank you so much, I’m very flattered!
LikeLike
What a beautiful card Jessica! You showcase your techniques beautifully and this card has a definite spring feel. I have been using these colours a lot this week and this stamp set, as it is featuring in my technique class next week. I’ll be sure to share your card with my ladies as another great example of what they can do with this set. Thanks for joining us for our spring challenge over at The Paper Players this week!
LikeLike
This is so pretty! The soft embossing is so beautiful. Thanks for joining us this week at The Paper Players!
LikeLike