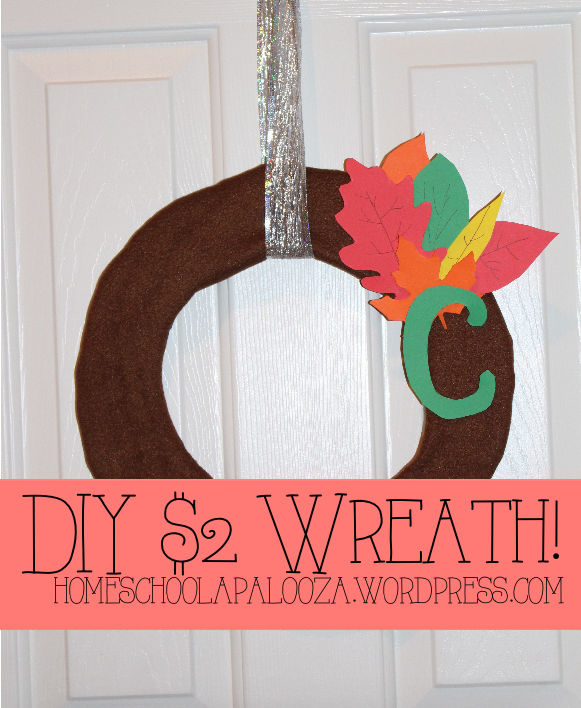
Hey there! Today, I am going to show you how to make a super fast, easy, and cheap fall wreath. This is my first wreath EVER and I didn’t want to spend too much money on it if it didn’t turn out as planned. But it turned out great! I really like it 🙂 Especially that it only cost me about $2!! So let’s get started!
You will need:
A cardboard box
Fabric (I used a blanket I didn’t use anymore)
Superglue
Paper in Fall colors
Okay! First, take your cardboard box and lay it out. Trace with a round object on the cardboard to get the main circle or your wreath.
Then, cut it and a smaller circle inside it so it looks like:
Next, cut out a circle in the fabric leaving about 2 inches extra around the edges. Then, super glue down the edges. Cut the fabric in the middle, still leaving about a 2 inch overlap and super glue that down to the cardboard too. It will look like:
I then looked up ‘leaf silhouette’ on google and traced a bunch of leaves I liked. I also cut out a ‘C’ for Coco!
Then, super glue down all the leaves and the letters. Ta-Da!! You now have your very beautiful, uber chic fall wreath!!
I also added in a sparkly ribbon to hang it from. I love it – in all I would say it was a great success. And super cheap too! I had all my supplies already here, but it might cost you a dollar or two for a super glue stick and a couple pieces of paper. 🙂
I hope you like my wreath! Be sure to follow my blog (in the sidebar) and to comment – it really brightens my day!
Till next time, Toodles!
Coco


Oh what a fun project! Thanks for sharing! Also wanted to let you know about a new linky party starting this Saturday at 8pm called “Found & Foraged” Can’t wait to party with you at http://www.houseofhipsters.com
Thanks!
Hello cute lady! Cute. Pinned. We really appreciate you taking the time to stop by our party. It wouldn’t be a party without you. Please join us on Monday at 7 pm. Happy Sunday! Lou Lou Girls
Thanks! Love your blog 🙂
Every team has a fanbase and that every other fanbase views as assholes. Pats fans are gritty, not-black assholes; Ravens fans are whiny assholes; Steelers fans are insufferable assholes; Raiders fans are ghetto assholes. Giants fans just happen to be stereotypical smelly dago assholes. /Giants fa-niAs/an///Duck/face
Clever idea to use the cardboard for the ring! Thanks for sharing with SYC.
hugs,
Jann
Thanks Jann!