
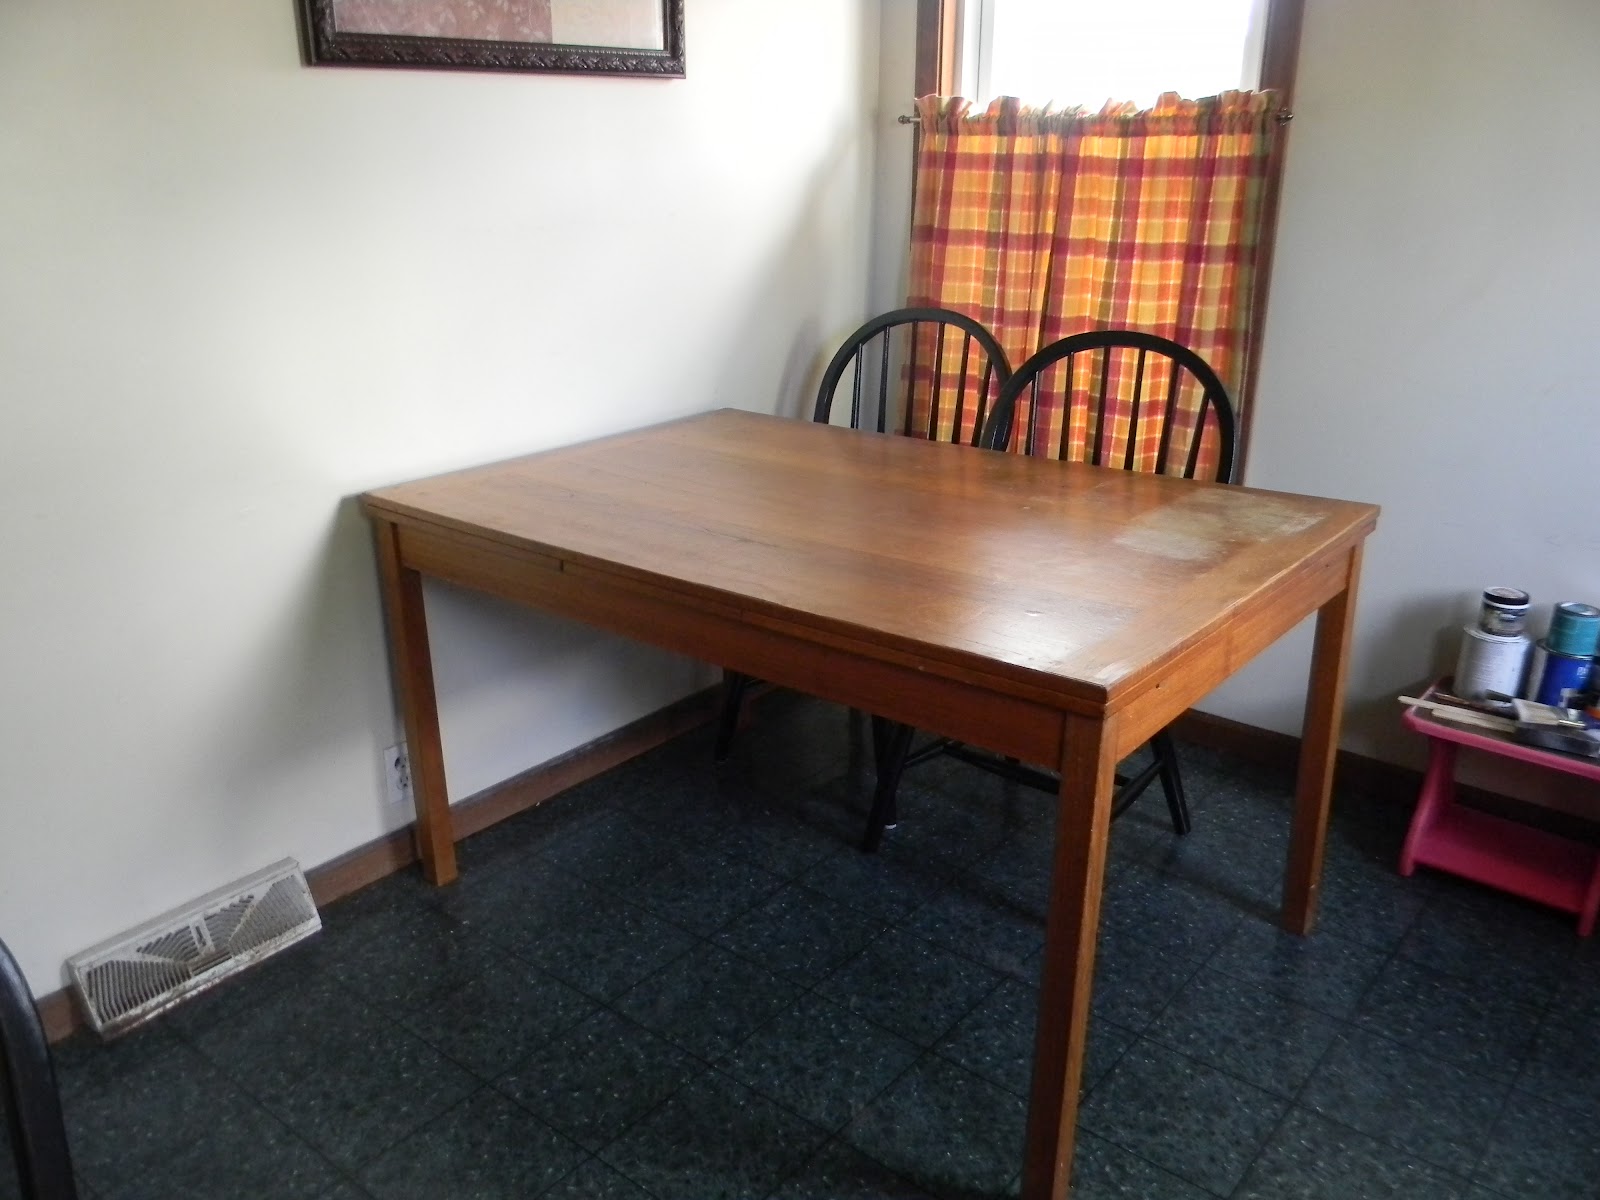
And when I get to Colorado, I won't have a garage for storage, or an outside deck for painting projects, or well.. much of anything really. So I know that this is a major project that has to be completed before we go. Along with every OTHER project that has to be done before we go. You know, like actually putting the house on the MARKET?
Haha yeah so that's pretty much my life. Anyway - since I work full time, and my 'painting' time is limited to after work hours, and before the sun goes down, and when it's not 95 degrees out with 85% humidity, and well when I'm not cooking, cleaning and doing laundry - you can see that this project is going to take a little while :) Hence why I'm starting the blog while I still remember the little things. So here's a list of materials I purchased to start this project, along with some of the blogs I got my inspiration from.

Now onto the important stuff. This was my list of things to buy:
1.) TMZ Cleaner. This stuff is like gold. Spray it on and virtually everything comes off. Sometimes it takes elbow grease. Sometimes it takes prayer. But a little patience and your stuff practically sings the gunk away.
2.) Kilz Primer - whoops - here I made an oops because I didn't know what i was doing. I bought the oil based stuff. UGH. Smells bad, does NOT clean up (even with the TMZ cleaner) and is a pain in the tooshie all around. My sweet friend JoElle finally took my brushes home and soaked them in turpentine to get them clean. God bless her. Don't make my mistake - buy the easy to clean up stuff. I'm sure they have it. They must. Or, just buy the oil based, since that is supposedly the best for your furniture anyway.

3.) Rustoleum Painters Touch paint (I'll take a picture of the can at some point).
4.) foam brushes. Seriously - don't even fight your usual brushes hair issues and streaks. Just get the foam. Life will be easier.
5) a bucket, some soapy water - and a nice shiny, bright light.
Yeap - now you're ready to go. Here's some photo's and some tips/hints for what I did, and what you can learn not to do from me. Like don't sit with your leg (yes, your physical leg) resting against a freshly painted surface. Or your foot. For some reason, wet paint and skin get stuck like glue. Mostly paint, like glue, on your skin.

On to the table. This has been a labor of love. Seriously. I couldn't really decide what I wanted it to look like, and I'm so in love with Annie Sloan's Chalk paint, that I really wanted to use that. However, at $$$$ a quart, it's not like I can run out and pick up a can of every color right now right?
So my initial choices were:
A) All black table (BOORING)
B) Black table top / white distressed legs
C) White table top / Black table legs
And I was leaning towards B, just because it would be unique, but then, I felt it would be strange with the black chairs. So I'd resigned myself to C. Until, I saw THIS POST on Vintage Restored Charm's website. Lori is a sweet friend of mine from our CTMH scrapbooking days. Well down in the lower half of the post she had this picture:

However, LORI was to my rescue and shared with me her great tips for achieving that stained look without all the work. And what does it include? Oh... my fabulous Old White paint from Annie Sloan. Apparently the stuff is so porous that you can stain right over it and it sticks. YES. Just what I need!
Well I painted the entire table white. The whole thing. My thought was to use my white paint on the legs, and have this beautiful stained table top. Only, once I put the chairs under the table I hated it. There was just way too much going on! I tried rubbing the stain in various areas, and distressing it with sand paper, but really... it wasn't coming together. The table looked awesome standing alone, but not with the chairs.
So now I was back to the drawing board. I went back to my original idea of black legs, but instead of a white table top, I did the fabulous stain as pictured above.
The math? One coat Annie White Old White Chalk Paint + two coats Minwax gel stain + 2 coats Annie Sloan Wax + 2 coats Polyacrylic on the table top = Beautiful Black and stained table. I distressed the frame and legs for good measure.
I still wanted 'vintage' appeal, even if the black makes it very modern. I'm envisioning some beautiful open shelf displays with big hunky chunky wood in my new place. But that my friends, is a post for another day.
Now for more pictures - and remember I am NOT a photographer so go easy on me :)


And the final picture - in my kitchen :) I'm really pleased with how it came out. It's not the cottage vintage feel, but it's perfect for our kitchen and it's perfect for us! :)
What do you all think? Comments are welcomed, and answered!

Linked up here:
 |
 |

|

|

|

|

|

|

|

|
 |
 |
 |
||
6 comments:
Great job, you should be really proud of how it turned out.
Thank you Susan! I'm pretty tickled about it :) Hope you'll come back and visit often! <3
Kisha
I'm getting ready to do something similiar with my dining table. What color gel stain did u use ? Our table looks just like yours before too !
Good morning SH! I used a Minwax gel stain - I'm pretty sure it's mahogany.
I think the real reason it came out this interesting shade of colors though is because I stained over white paint - if that's the look you're going for, remember to pick up the Annie Sloan Old White paint first.
I don't know what color it will come out if you stain it over natural wood :)
Good luck and when you're done come on back here and direct us back to your blog to see your finished table! :)
~ Kisha
Nicely done! Thank you for sharing this at my Make it Pretty Monday party at The Dedicated House. Hope to see your prettiness again on Monday. Toodles, Kathryn @TheDedicatedHouse
Thank you Kathryn for taking the time to not only come check us out but also to comment! I really appreciate your hard work on your blog and look forward to playing again!
Post a Comment
oh I just love to chat with you! Go ahead and leave your comments!
I read them all and I will answer too :)