
I am finally making friends here in Colorado, and one of them happens to be an awesome diy'er (friends with benefits?....I mean come on...she has a Cricut AND a saw! What else can one want from a friend? j/k She's awesome!).
We met once for a little playgroup/ craft morning. I wanted to make a sunburst mirror, and so I brought all my paint sticks I've been hoarding collecting (THAT'S the real reason I moved away from Chicago...you know...all those paint sticks...they leave a trail and I swear Home Depot was on to me).
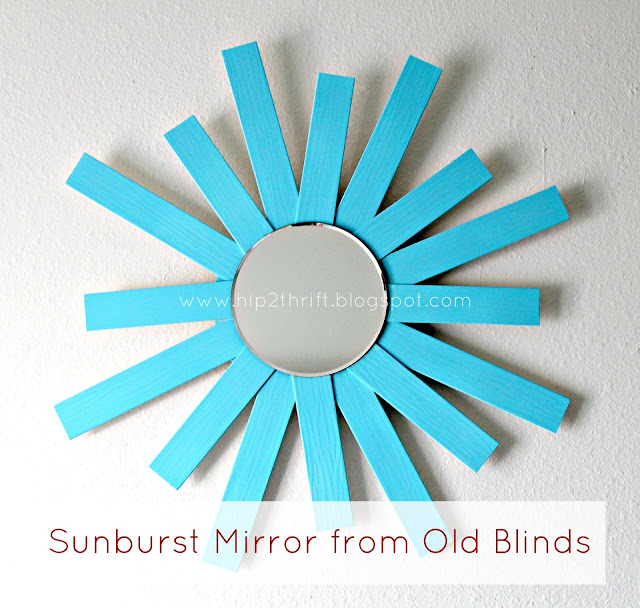
Anyway, Mindi, the above-mentioned awesome friend, had some old faux wood blinds, and we decided to cut those up and use them for the sunburst mirror. Genius! Oh the joys of having a saw, and the freedom to just cut whatever you want, whenever you want!
So, cut we did! (ok...I admit it...I just watched and was absolutely terrified of that saw). We cut different sizes to have alternating lengths of the rays.

For this project you will need:
- faux wood blinds
- spray paint { I used Crylon Ocean Breeze}
- wood glue { I used Epoxy, but you can use Gorilla Glue or even your glue gun}
- scrap wood or a circular piece of wood from the craft store {which is what I used}
- circle mirror
- circle mirror
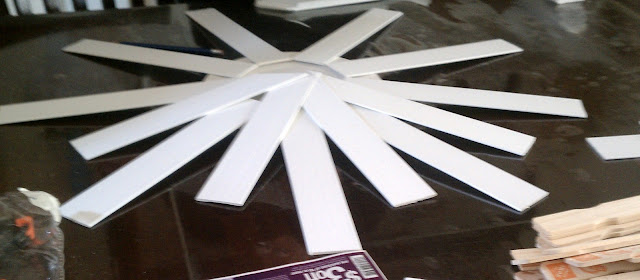
I was having so much fun with my friends, that I had forgotten to take good picture, but I did take a couple of bad phone pictures of the process.
1. Cut up your blinds to the desired size.
2. Begin by tracing your mirror onto the wood base. Start placing your pieces. I played around here until I found the length and spacing I liked. I used epoxy to glue them onto the wood base, making sure they were all evenly spaced. I also used clamps to hold them in place for drying time.
3. After a few minutes, I played around with the second layer, and then glued on top.
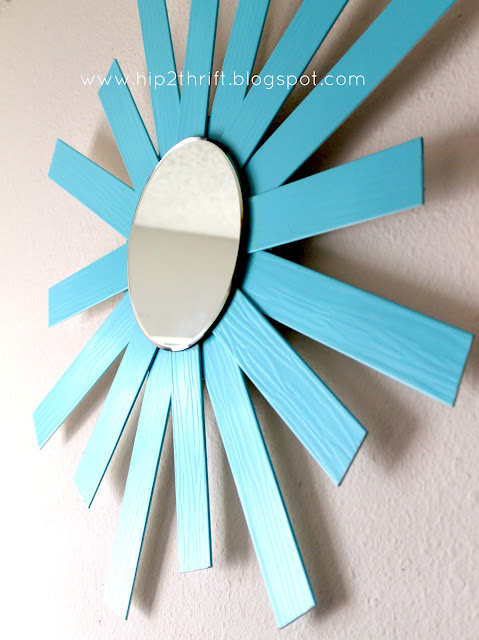
4. After it was dry, I attached a picture hanger to the back of the wood base (I would advice to do this step before attaching your blinds), and then gave it all two coats of spray paint (I only did the front).
5. The last step was to adhere the mirror. I eyeballed it and centered the mirror. I used my glue gun
to do this step, only because it was faster.
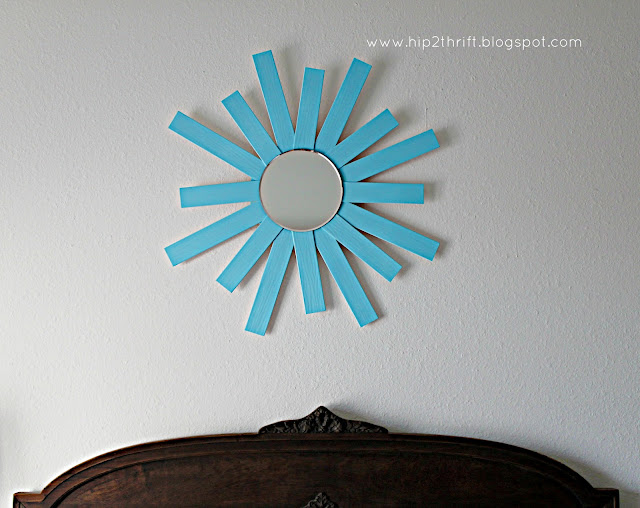
I hung it above my bed for this picture, but will probably move it somewhere else.
There you have it - the epitome of reusing something old!
If you are inspired to make a sunburst mirror, and would like to see more similar projects,
please consider following or subscirbing to my blog. Just click on one of the icons below:



.jpg)



Awesome! I love it! (hm...it sounds like I need to make friends with someone with a saw too... ;)
ReplyDeleteOld blinds? That's awesome! I love the turquoise!
ReplyDeleteYea! It looks awesome! I think I like your turquoise better than my green!
ReplyDeleteWhat a clever way to use blinds! I never would have thought to make something like this! I'm a new follower and I’d love for you to share this on Tuesday’s Tidbits at Naptime Delights: http://naptimedelights.blogspot.ca/2012/06/tuesdays-tidbits-6.html
ReplyDeleteThanks!
Sarah
{http://www.naptimedelights.blogspot.com}
Now thats a GREAT use of some old blinds!!
ReplyDeleteStopping by from Domestically Speaking...
http://megschmitt-neveradullday.blogspot.com/
This is such a great idea!! I have an old set of plastic blinds, like the thin cheapy ones, that I am throwing away, I wish I could figure out something cute for them because that would be the ultimate upcycle! Thank you for sharing, I am a new follower!!
ReplyDeleteHope you have a great weekend!
Michelle
www.delicateconstruction.com
Old blinds?! That is Fabulous! Love the color too!
ReplyDeleteWhat a great idea! I would have never guessed that was made from blinds! Love the color too. Looks great! I'd love for you to share this at my Throwback Thursday party. http://www.hubbymademe.com/throwback-thursday-no-3/
ReplyDeleteHope to see you there! Thanks for sharing! :)
What a great craft idea. I love to re-purpose things! Thanks so much for linking up to our Pretty Things Party! I hope you'll be back next week!
ReplyDeleteStopping by to thank you for sharing this at my Throwback Thursday party! I need a friend with a saw!! ;) I hope to see you again this week!
ReplyDeleteSo awesome - I'm in love with that color. Thanks for sharing at MightyCrafty Monday! I've pinned as well.
ReplyDeleteOn a random note - I'm in the process of moving to Colorado! Maybe we'll be neighbors? :) Did you just move there? I'd love to hear your thoughts about where we should be house-hunting. Please email me if you have ideas! lissamitchell@gmail.com :)
We moved here 5 months ago and have not really decided where we will live. Currently living in an apartment in Broomfield. I'll email you with more details.
DeleteWe might hit that snag too if we find a house we love. We're heading out soon for a house-hunting trip and are looking on the south side of Denver - Parker, Highlands Ranch, even as far south as Castle Rock. Email me when you have a chance!
Deleteare you in CO already?
Deleteold blinds! you're kidding!
ReplyDeletewhat a GREAT idea! and i love the color you chose!
ReplyDeleteThank you for the compliment and thank you for stopping by!
DeleteGenius! Way to be creative, I never would have thought of that! :) Found you on Tatertots and Jell's link up! Newest follower!
ReplyDeleteApril Hoff
housebyhoff.blogspot.com
I love new followers! Thank you so much! Definitely going to go check your blog out!
Delete