Hannah as a friend named Alex. They’ve known each other their entire lives. Well, actually longer.
I’ve know Alex’s mom since 3rd grade. We rode the bus to school together and later on in life, we were in each other’s weddings. On the day I called to tell her that I was pregnant, I told her that I had something to tell her. She said, “I’m so glad you called. I have to tell you something, but you go first.” I said, “I’m pregnant!” She said, “I’m pregnant, too!”
My due date was November 1st. Her due date was December 1st.
A few weeks ago, I learned that Alex is totally into cooking and playing with his kitchen set. He comes by it honestly. His parents own a Mexican restaurant.
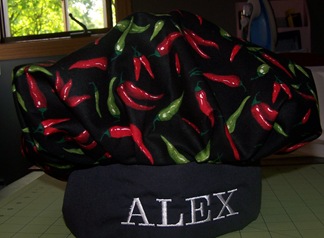
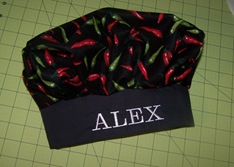
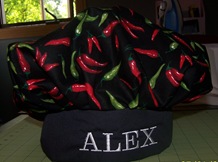
So, I set out to make the perfect accessory for Chef Alex:
Here’s how to make one:
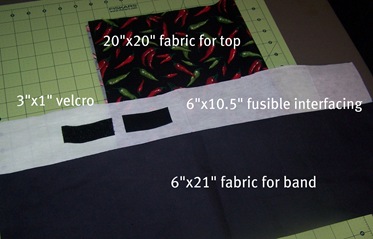
Gather your materials. I started out with plain white fabric, but when I saw the chili pepper print, I knew it was perfect for this little guy.
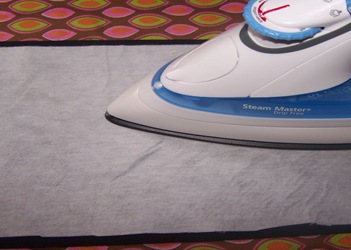
Iron interfacing onto the wrong side of the band fabric. If you are using a solid, it won’t matter which side you use.
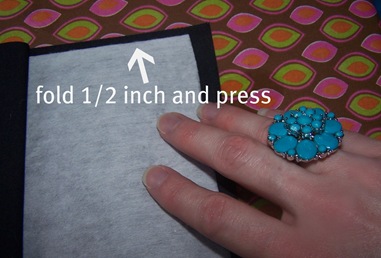
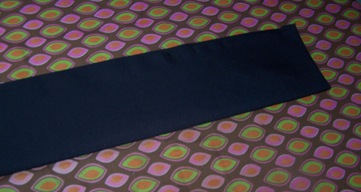
Fold the short side of the fabric over about 1/2 inch and press. Do this on the opposite side also.
Now fold the entire piece in half so that your band is 3”x20”.
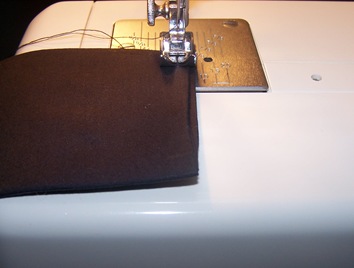
Top stitch along both of the 3 inch sides.
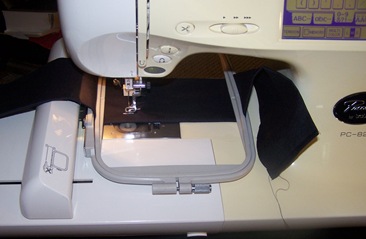
I then set up my embroidery machine to stitch Alex’s name.
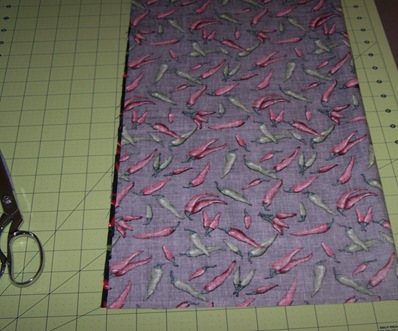
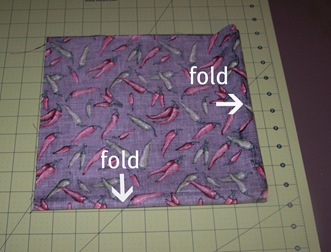
While the embroidery was going on, I began working on the poufy piece of the hat. Fold your 20x20” fabric in half.
Now fold it in half again.
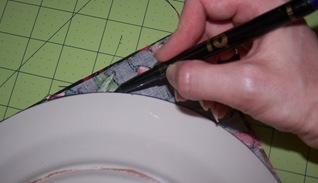
I used a large dinner plate to trace a round shape at the top left, but you could just wing it. It really does not need to be a perfectly rounded corner, because once you put the hat together, the poufiness of the top hides imperfections.
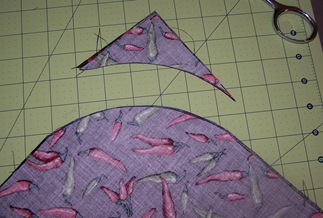
Cut the corner off.
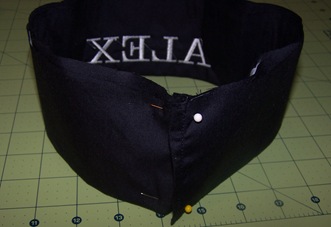
Pin the two ends of the band together, overlapping about 1/2 inch.
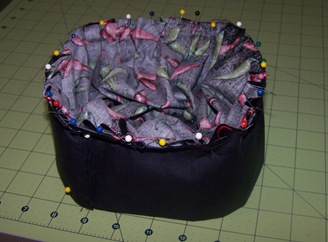
Now we’re going to attach the top piece to the band. Make sure that the wrong side of your fabric is facing up, so that the correct side will show when you turn out the hat at the end.
Start by pinning the top piece to the front center of the band. Then work your way around the hat, bunching and pinning, until you reach the point where you started.
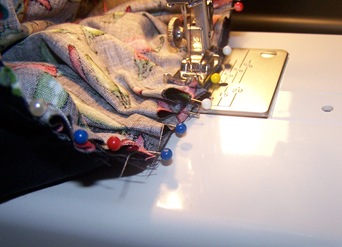
Stitch around the entire piece. I rarely sew over top of my pins. I know many experienced seamstresses who sew right over them, but it seems like when I try to do that, I always break needles.
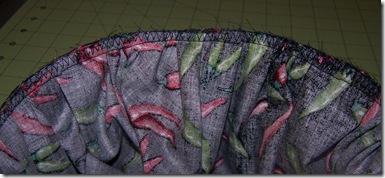
Once you sew all the way around, you can leave your raw edge as is, or if you have a serger, you can serge around. I did a simple zig-zag stitch to finish it off.
Turn the hat right side out. You can run a top stitch around the spot where the band and the top meet, or you can leave as is. Stitch the velcro on the back. I forgot to take a picture of this step, but you will want to place it so that you can adjust the hat for size.
Bon appétit mon ami!
I’m linking up with these parties.






You are amazing! What a great idea and fantastic gift. I can't believe you can sew like that.
ReplyDeleteWhat a great friend you are and I bet little Alex will be so excited!
ReplyDeleteCute hat! I'm sure he'll love it!
ReplyDeleteMucho Bueno ~ what a fun gift for Alex!
ReplyDeleteThis is a great tutorial! Thanks for sharing.
ReplyDeleteBecca
How adorable! Fabulous tutorial. Love the fabric! Thanks so much for joining The Sunday Showcase Party. I greatly appreciate it! Hope you have a wonderful week! ~ Stephanie Lynn
ReplyDeleteHi Tina! I'll be featuring your chefs hat tomorrow. Stop by and grab a featured button if you like! Thanks again for linking up to The Sunday Showcase! ~ Stephanie Lynn
ReplyDeleteThat is really sweet- you've got to give props to a boy who loves to cook... you're awesome Alex!
ReplyDeleteCute chef hat! Thanks for linking @Creative Itch's "Sew Cute Tuesday"!
ReplyDeleteWhat an adorable hat! Thanks for linking up to Tot Tuesdays! I really appreciate it!
ReplyDeleteGreat gift. My guys would love this too. Thanks for linking to Craftastic Monday:)
ReplyDeleteAh! How awesome is this???
ReplyDelete