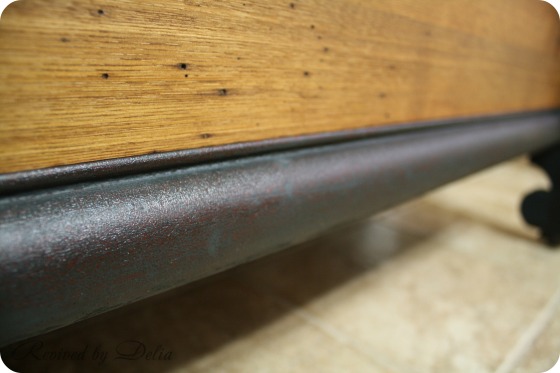
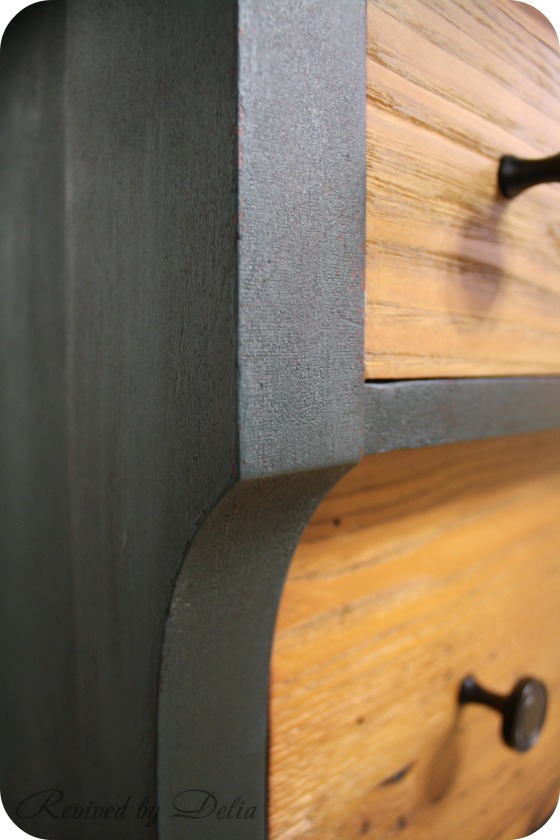
This dresser was given to me by a local doctor. His wife was kind enough to take a moment to tell me the backstory – her husband had bought this dresser when he was in college. Times were tough, but he found it used and at an affordable price. He had toted the dresser around all his life, it had served many purposes within their home and through all the years as their children grew up. Her husband had intended on refinishing it but only got a small way into the process.
This piece was structurally solid. It was just in need of some cosmetic assistance. The top had been partially sanded and the veneer on the drawer fronts was loose or chipping. I’ve been storing this piece for a few months, trying to decide what to do with the veneer on the drawer fronts… Did I want to glue, patch, and paint them? Or risk taking it off, unsure of the wood that lay underneath? It’s always the silly things that scare me… my biggest fear? The little keyholes – if I removed the veneer, what if I couldn’t get the keyholes to fit back in properly??? I will spare you the worry and let you know that it all worked out in the end!
Once I decided to bite the bullet and scrap the veneer drawer fronts, I didn’t delay and set to started ripping it off. The two large drawers were pretty easy. The smaller drawers were stuck on good and tight and proposed a bit of a challenge. You can read about that in this post. This is what I was left with.
I wasn’t sure how the keyhole hardware was secured – as I pulled off the veneer, the keyhole hardware started to lift a bit as well. You could see that they were held in on either side by small finishing nails. They started to pull out as I pulled off the veneer – using a pair of needle-nose pliers, I carefully removed each nail and out popped the keyhole! Much easier than I had anticipated!
Once all the veneer was removed, I used the orbital sander to smooth out the drawer fronts. The wood under the veneer was beautiful in a more rustic way than the false perfection the veneer had once offered. It had beautiful worm holes and variations in the grain. Very pretty. And a beautiful contrast to the curves of the Empire body. The wood was dry though, so I turned to my old standby – coconut oil. Quick rub and the wood was hydrated and glowing again.
Once the drawers were sanded and oiled, I dotted the outer edges of the keyhole pieces with wood glue and slipped them back into place. I secured them using slightly larger finishing nails just as they had been. All my fear was for naught! Took a few minutes to add a couple finishing nails to the drawer bottoms, add pretty blue striped liner paper, and pop on new hardware, and you would never know they were the same drawers I started with.
Now – for the fun part! I had envisioned this piece in a beautiful peacock blue. I had gone to Lowe’s months ago and scoured the paint chips looking for the perfect shade (which really just confused me more than anything – the colors all start to look the same – it’s very overwhelming!) And here I stood, looking at this dresser and seeing it in peacock blue… I wanted to use milk paint – it seemed like the texture/finish would work well with the milk paint. And then it hit me – make my own peacock blue! I had gotten some new (to me) colors of Old Fashioned Milk Paint for the holiday and started mixing. Ta da!!! Fantastic shade of peacock blue! Better than any of the paint chips that overwhelmed me and made my eyes pop!
So I painted it on until the wee hours of the morning. When I woke the next morning it was time to wax and admire… the milk paint did exactly what I wanted it to – settling in the cracks of that bumpy antique finish… Absolutely fantastic. I hope the new owner enjoys it as much as I would if I had any room to keep it! It can be found at Rebecca Christine’s Consignment Boutique.
Thank you for reading along through this revival – if you would like to see more, enter your email address on the right to receive an email when I post something new. Thanks for stopping by!

I was Featured!
Linking To:
Monday: Mod Vintage Life – Home Coming – Maison de Pax – Cupcakes and Crinoline – Beyond the Picket Fence – Stone Gable – Dwellings Tuesday: Elizabeth and Co. – Common Ground – My Uncommon Slice of Suburbia – Coastal Charm – Knick of Time – Cozy Little House Wednesday: Savvy Southern Style – Glamorous Affordable Life – City Farmhouse Thursday: No Minimalist Here – Imparting Grace – The Charm of Home – From My Front Porch to Yours – Craftberry Bush – The Vintage Farmhouse Friday: Miss Mustard Seed – Nancherrow – Stylish Patina – Redoux Interiors – My Romantic Home – French Country Cottage – The Shabby Nest – Jennifer Rizzo – One Project Closer – I Heart Naptime – The Cottage Market Saturday: Life on Lakeshore Drive Sunday: Nifty Thrifty Things – Do Small Things with Love – VMG206 – Finding Silver Pennies Monthly: 1: A Joyful Cottage


It’s gorgeous!
I love how this turned out….very smart looking and tailored!!! Good job!!
What a great job. I love how the drawers turned out — very ambitious on your part. Ann Marie @ Iris Abbey
Such a lovely redo! The blue color is just perfect. Shaun @ Sassy ReVamp
wow what a big difference!!! really love it! Thanks so much for linking up at Creativity Unleashed!
Visiting from Creativity Unleashed: I love how beautiful the wood was underneath the veneer. I haven’t used milk paint yet but this is making me itch to try it!
Love it. I must try Milk Paint soon!
Gorgeous! Great color choices!
love it great color choice and looks perfect for any area really
come see us at http://shopannies.blogspot.com
Thank you all for the wonderful comments. I’m so glad you like it. There are more revivals to come!
Pingback: Give Me the Goods {No. 41} Features
It’s beautiful, Delia! And you were featured at Give Me the Goods today. Thanks for sharing!
Rachel @ Maison de Pax
Hi Rachel – thank you so much for the feature! I adore your site and will be your newest follower! Happy new year!
Wow, I really really LOVE that blue color! It’s so perfect, and the dresser is gorgeous! Pinning for sure, and thanks so much for sharing this at Creativity Unleashed!
What a beautiful piece! Lovely job 🙂
Thank you Denise!
LOVE YOUR MAKEOVER, IT’S GORGEOUS, I WOULD LOVE TO FEATURE IT, IF THAT WOULD BE OK PLEASE LET ME KNOW,
LAUREN
Thank you Lauren – that would be great! I’m glad you like it! Your Revival picks are always great – I’m honored!
– Delia
What a great piece- the history and the refinishing you did on it!! I love the stories behind the pieces we gather up. Love the color!!
FAB! Love it!
very nice!
Delia, I love your chest and the nightstand, too. They’re wonderful pieces and will be featured tomorrow. Thanks for sharing at Every Room In The House. Hugs, Nancy
Thanks so much, Nancy! I can’t believe a month has passed!
I’m so glad I found your post. I have what could be this dresser’s taller twin. It’s in pretty good shape, but the veneer on the drawer fronts is cracking. Thankfully it’s solid wood underneath. The key holes are making me nervous too! I don’t see any finishing nails anywhere in mine. We’re yours located under the veneer? It’s a thick enough veneer I would think they could be under there without showing through. Thanks!
Hi Marianne! I’m glad my post was helpful! It’s been a while but if memory serves, regarding my removal of the key hole hardware (escutcheons), I removed all the veneer first, working carefully around them. Once the veneer was gone from underneath, they had a little wiggle room, and that’s what allowed the small finishing nails to come loose. I hope that helps!