
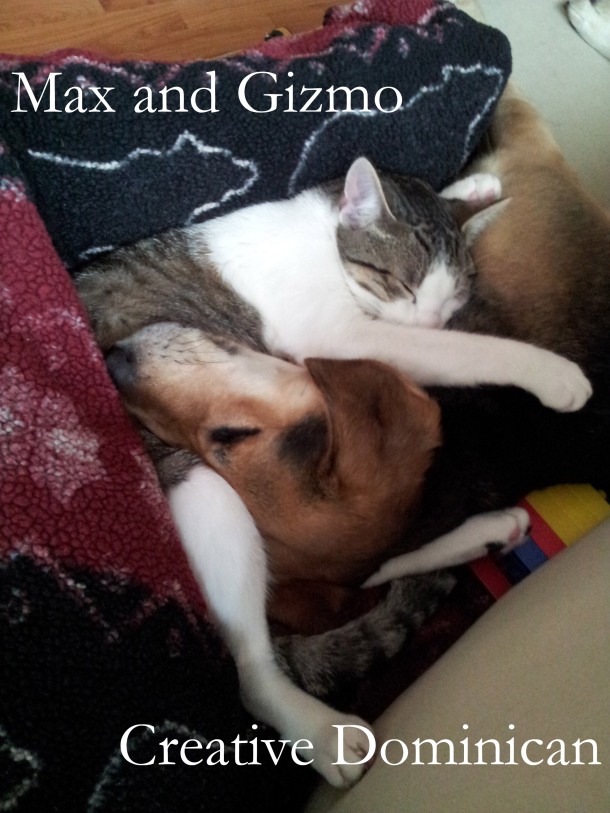
I know this may seem like a silly project, but there is a really good reason for it. We have this crazy cat named Gizmo that LOVES water. Yes, our cat loves water and one of his favorite things to do is to knock the water dish around the kitchen and get all wet. This little game of his D R I V E S me C R A Z Y!!! So I had to do something to fix it. Yes, I could have just gone to the store to get a heavier dish, but what fun would that be? I had left over wood and paint so it just made perfect sense to make a little table for his dish to try and fix the problem.
We have a dog too and he shares the water dish with Gizmo. They love each other so it works out great.
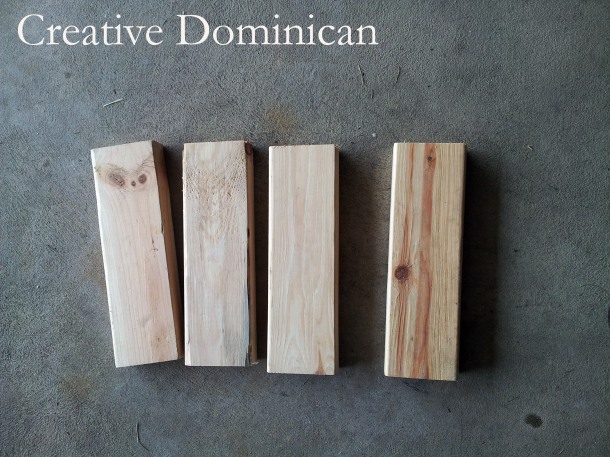
I had an idea of what I wanted in my head, but first I took the two pieces of Plywood we had in the garage and the pet dishes to measure out the size I would need.

After marking the size, I cut and glued the two pieces together.

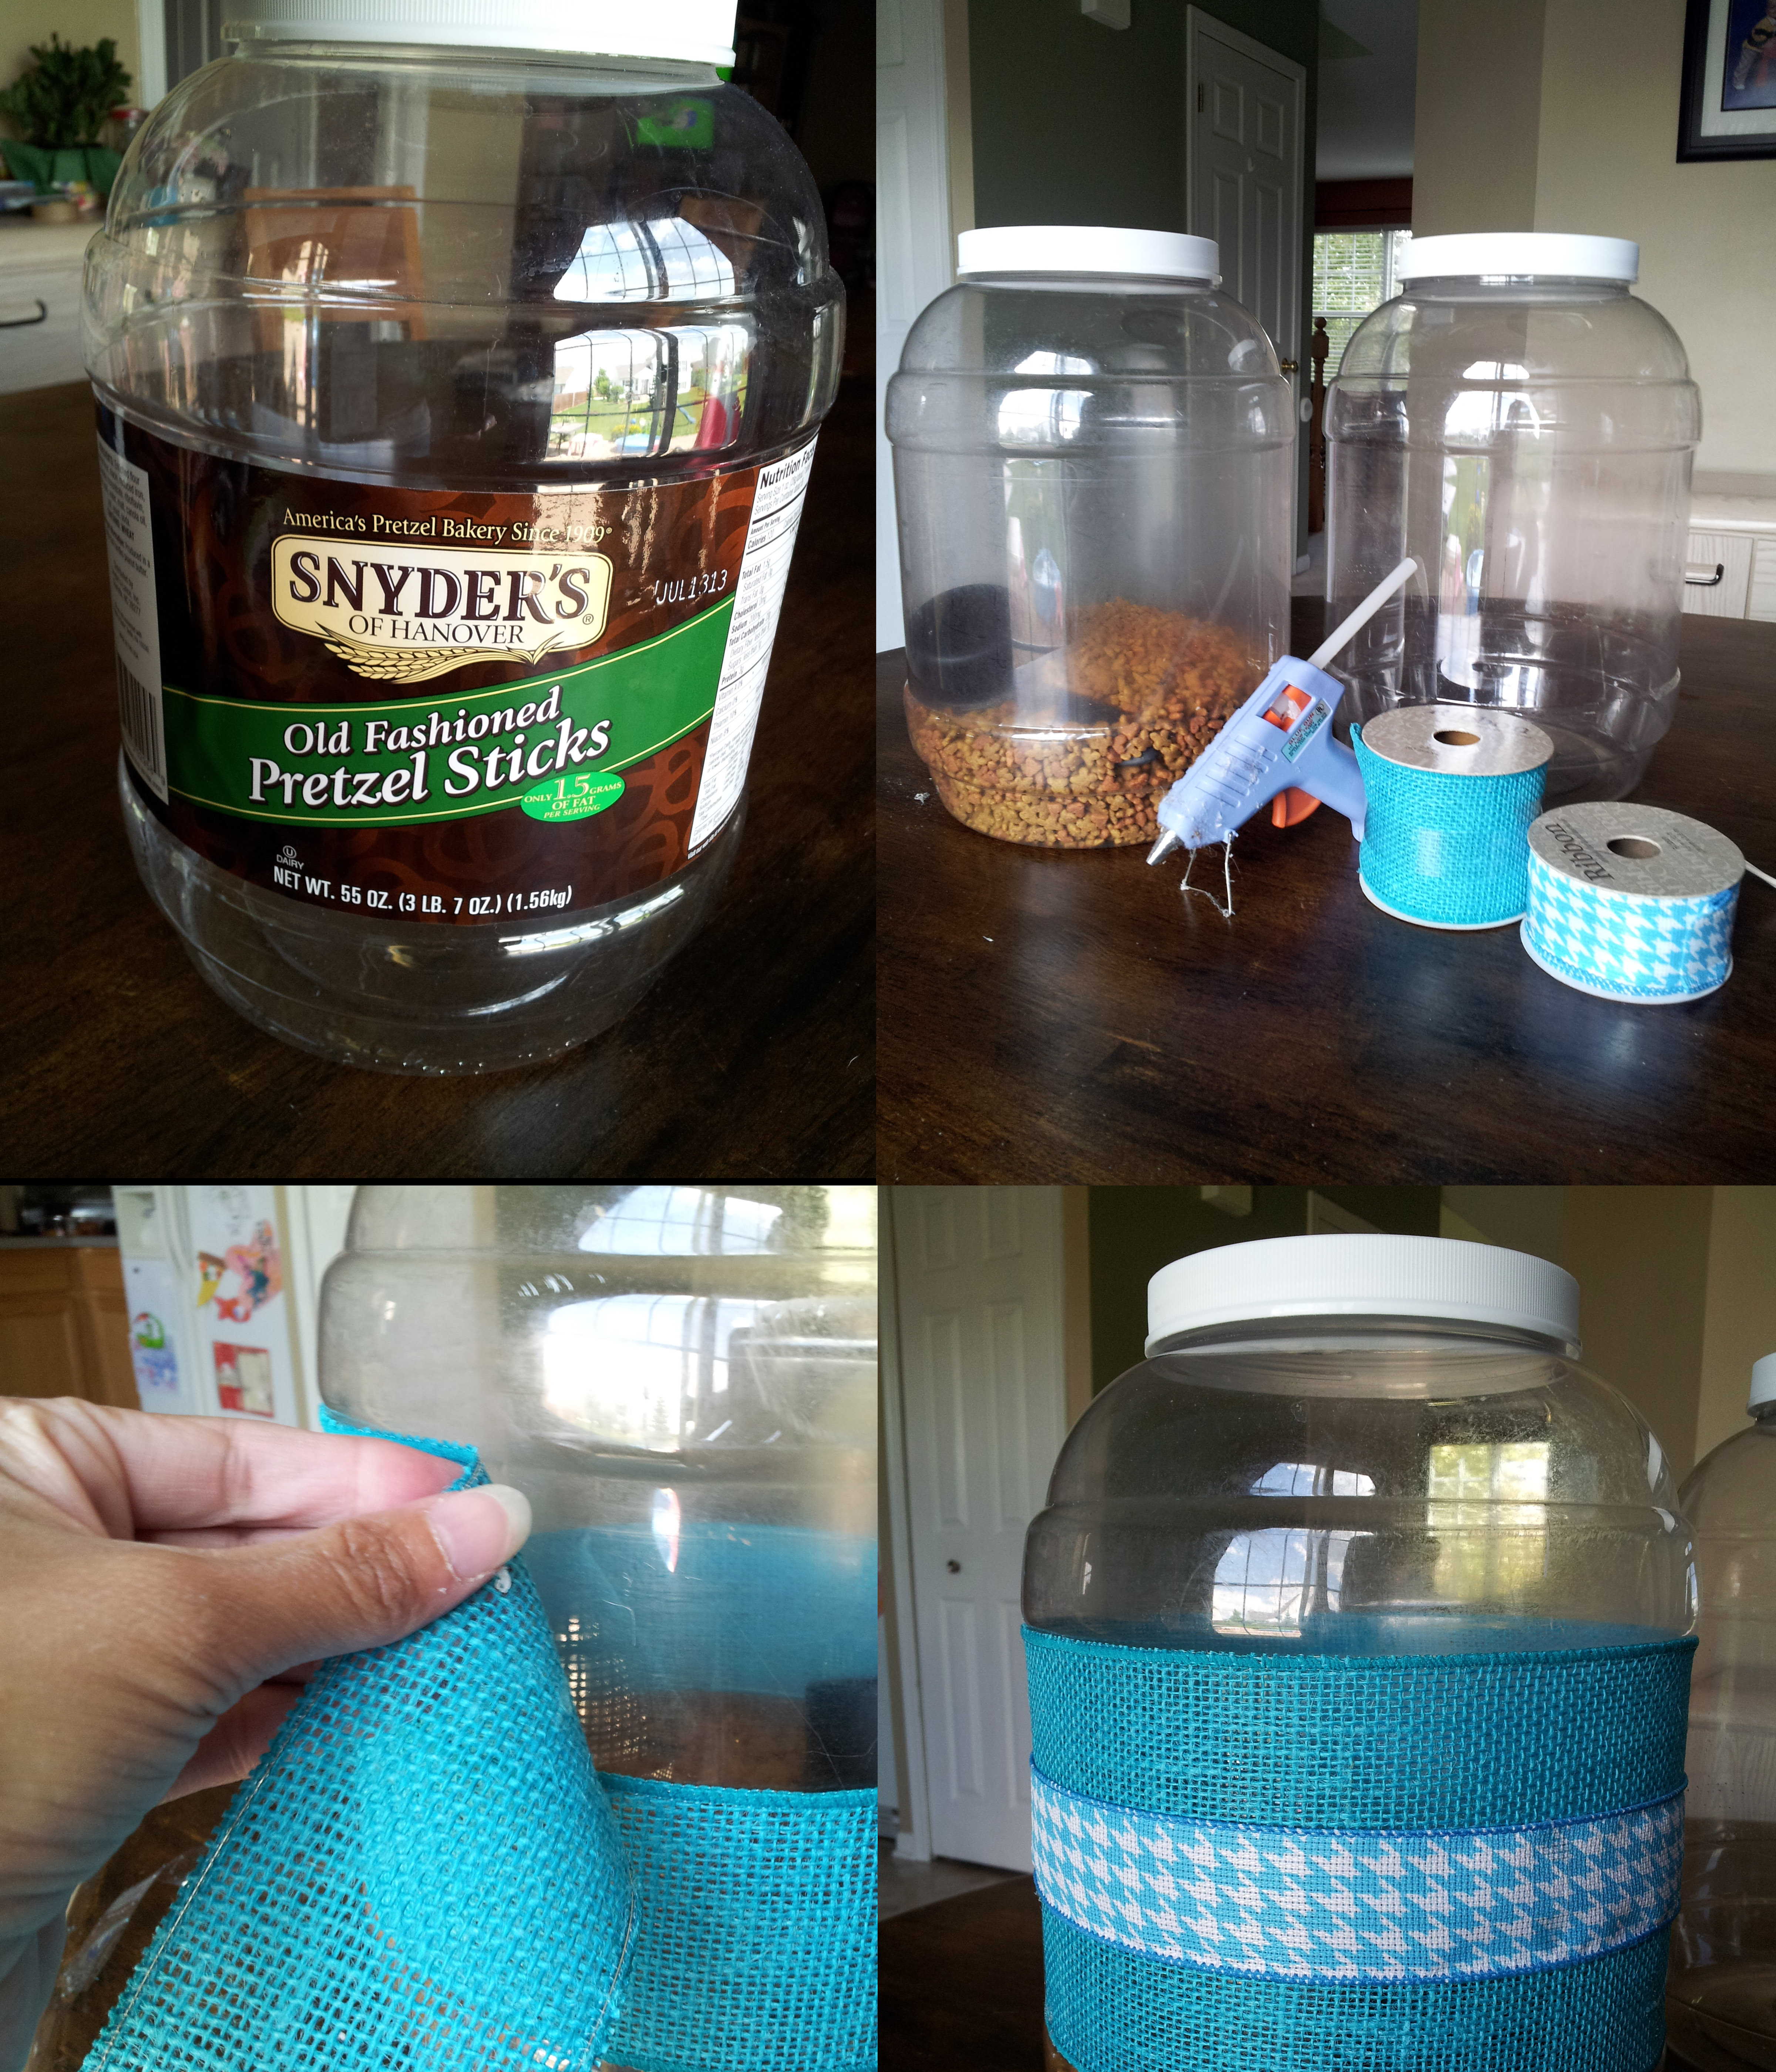
Next I measured the container for the food I planned to store below the table, then gathered I all the random left over 2x4s I had and cut them based on the size of my food container.
Next I cut two more pieces of 2×4 to attach the legs and give extra support to the table top.

Once I had the extra support pieces cut to the right size based on the table top, I attached them to the legs.
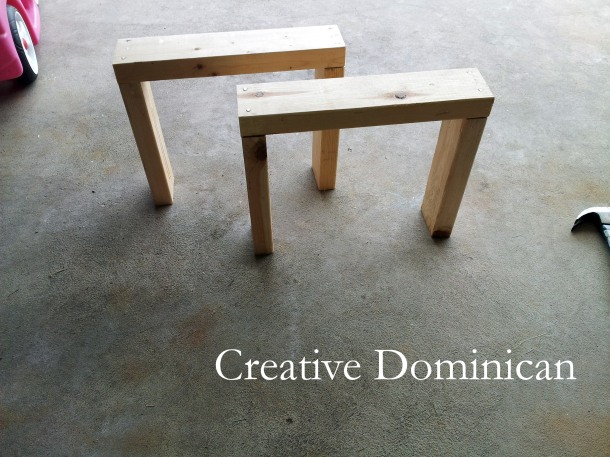
The legs and support pieces then were attached to the top.
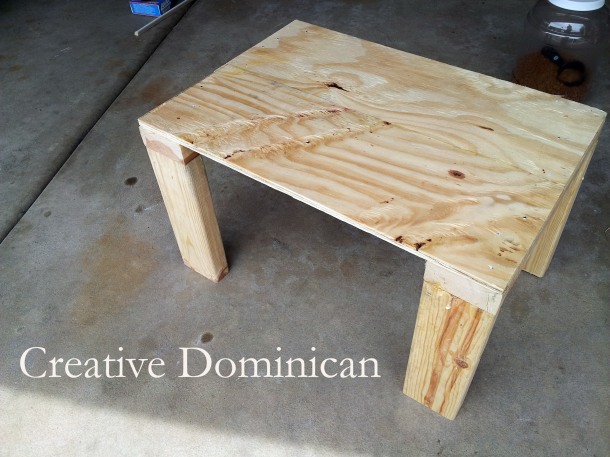
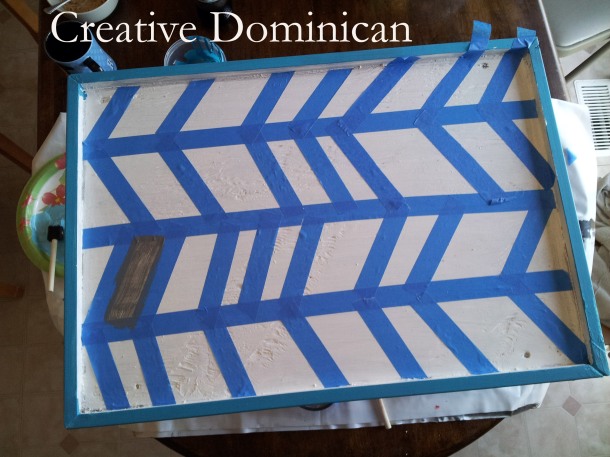
I then added some door molding to create the edge that would keep Gizmo from moving the bowl around the kitchen.

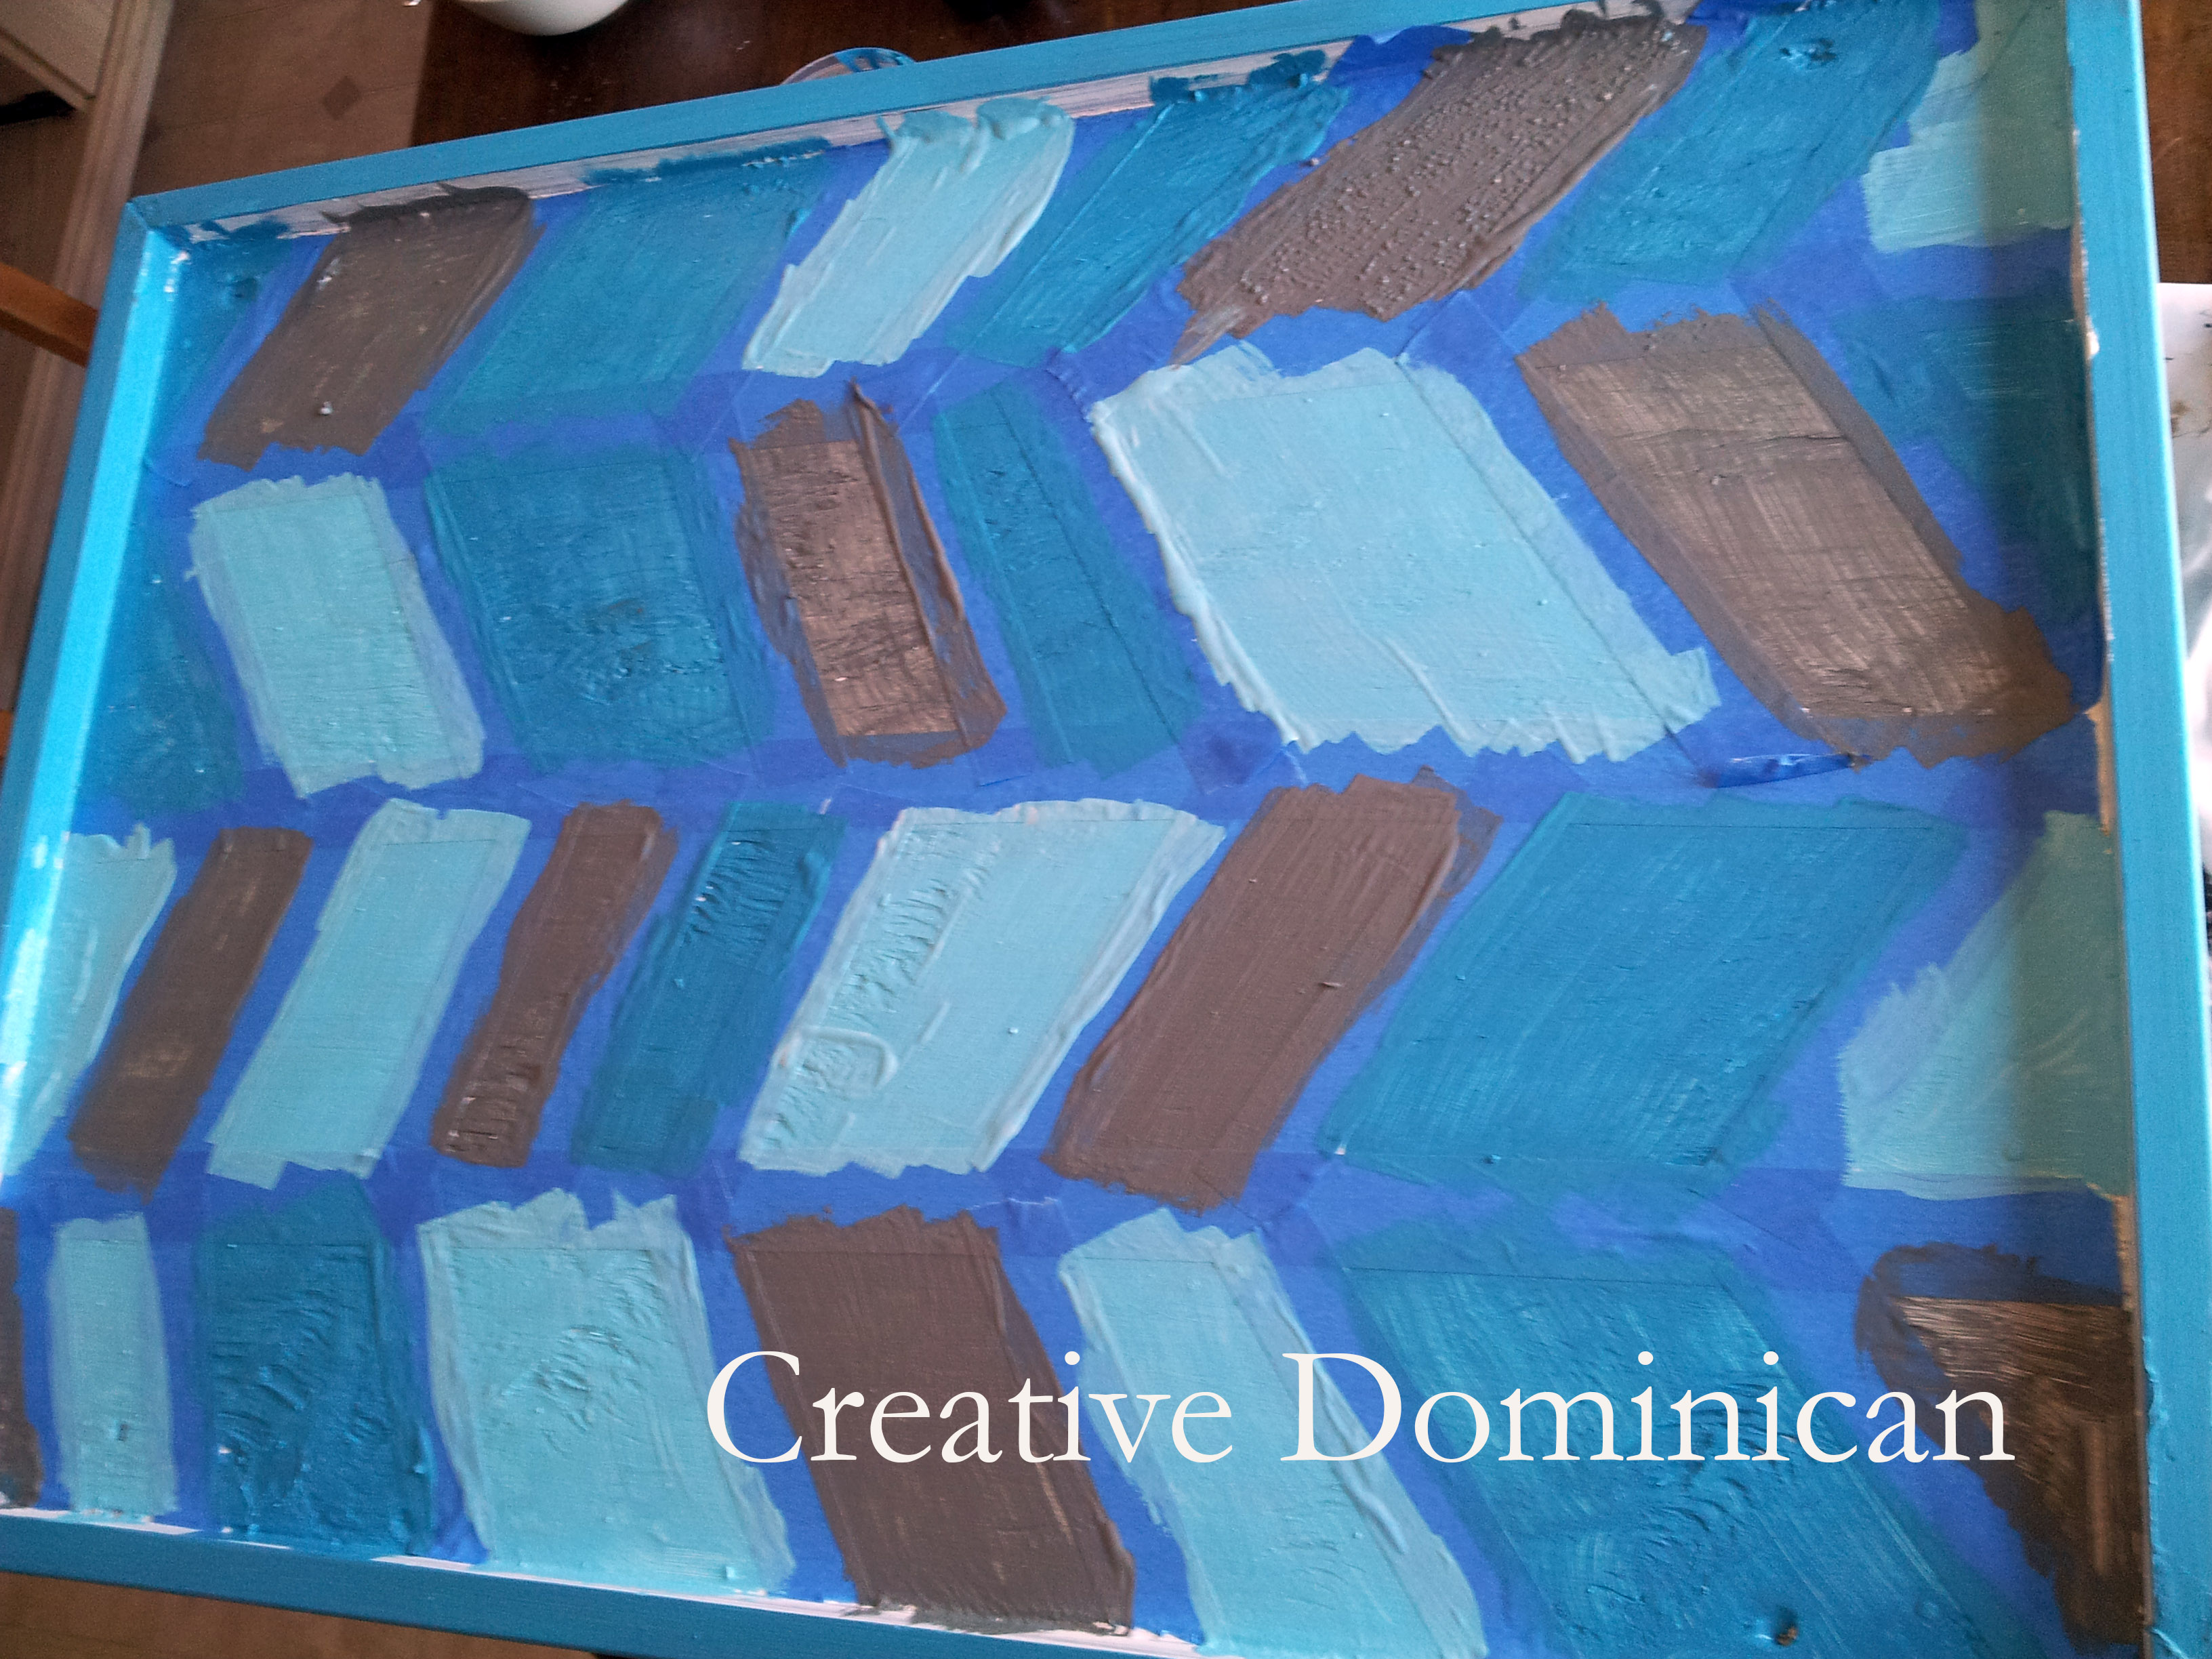
Time to sand and paint!


WHAT???? Yep, his is already trying to knock it around and I’m STANDING RIGHT HERE!

I decided that I loved the end results too much to let him damage it by getting it wet every day, so I added some nails to keep the dish from moving around. HA! try it now Gizmo!!!
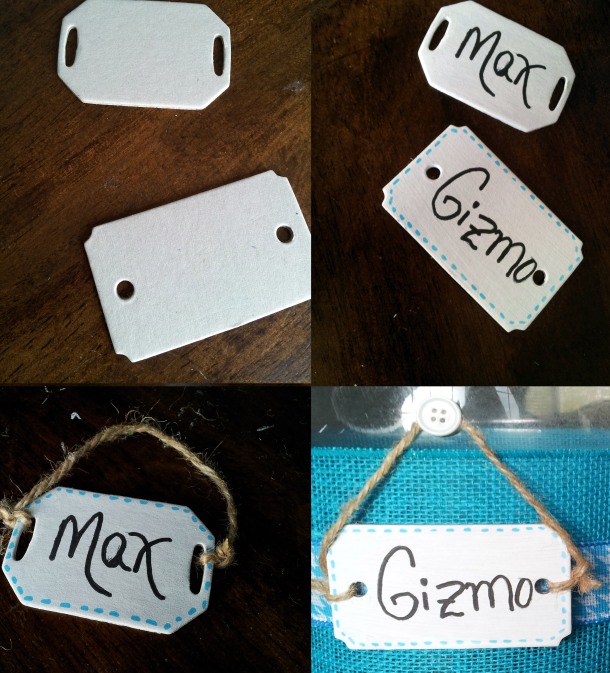
Now, it was time to work on the food containers that would go below the table. This solved my second problem! My son kept saying he needed help getting the food from the top of the fridge, so by storing it below the dish table there would be no reason for him NOT to feed his pets on his own. For this project I just used some ribbons, empty pretzel containers and some Scrapbooking chip board tags.
I painted the chip board tags with some white craft paint and made a dotted edge with a marker, tied some jute rope, added a button accent and attached it with hot glue.

Here is how it looks all together:

It turned out better than what I had pictured in my head. I hope you like it too! If you like it, show some love by sharing it, pinning it, liking it or leaving a comment. I love comments! Follow my blog via the links on the right column or via Pinterest and Facebook to keep up with all my projects.
Hugs,
Beca
So honored to be featured here:
Shelterness: 8 Cool DIY Cat Bowls And Feeders
You can find my favorite link parties here!


Great project!!!!! Love it 🙂
Thanks sooo much Andrea! Have a great weekend.
I am SOO impressed! Your brain is filled to the brim with severe creativity! You do a great job blogging your projects. It’s fun to look at!
Awww thanks Faith! that is soooo very sweet of ya! Have an awesome Friday.
So adorable! I love it! Your furbabies seem to love it too!
(new follower and fellow pet lover)
Morgaine from Madcap Frenzy
P.S. I would also like to invite you to join my June Totally Tuesday Link Party:
http://www.madcapfrenzy.blogspot.com/2013/06/june-totally-tuesday-link-party.html
Hugs!
Hi Morgaine! Thanks sooo much. Isn’t amazing how much our fur babies still our hearts? Thanks for the sweet comment and the follow and invite! I just linked up at your party and became a new follower! Have a great weekend.
How cute is that! I bet Max and Gizmo are very happy pets!
Thank you Sharon! Yes, they are happy and spoiled…LOL. Thanks for the visit and taking the time to comment. Have great week.
Pingback: 8 DIY Cat Bowls
awesome job & great idea I host a FURRY FRIENDS FRIDAY blog hop for all pet friendly blogger would love if you would come link up
Thank you so much! I will check out your hop tomorrow. Have a great day.